
Hello all the DIY freaks out there.
Today I am going to unbox and install a "Broom and Mop Holder" that I purchased from AliExpress for just AU$12 So, without wasting time lets get started.
Step 1: Hardware
Hammer Drill
Drill Bits
Pencil
Broom and Mop Holder
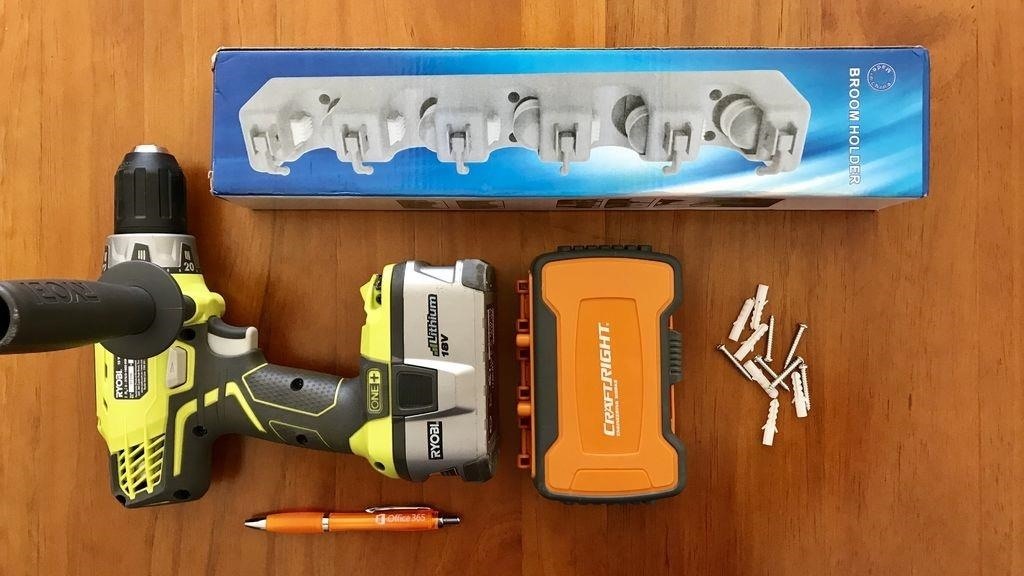
Step 2: Unboxing
So, this is the box that came from AliExpress.
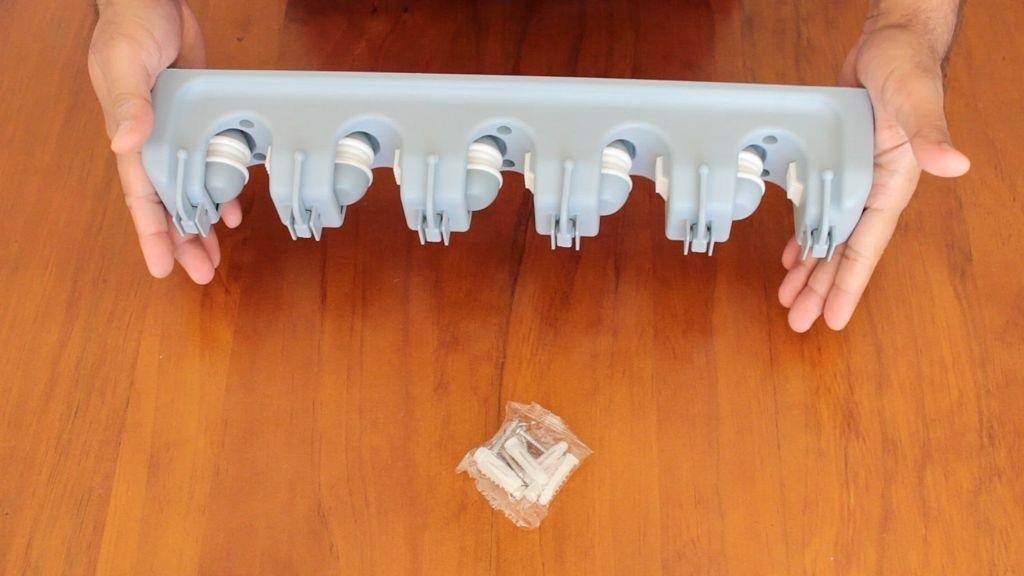
It only took 17 days from China to Australia. I was really surprised how quickly this one was delivered to me. OK, so looks like this unit actuality came with 6 screws and 6 wall plugs. So, I don't need anything from my toolbox.
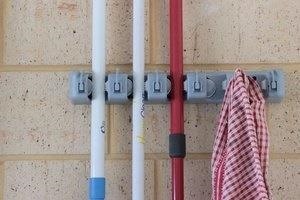
Now lets have a closer look at the unit:
- It has 6 fold-able hooks for hanging towels and dusters
- and 5 groves to hold your brooms or mops
The installation instructions are also provided on the box.
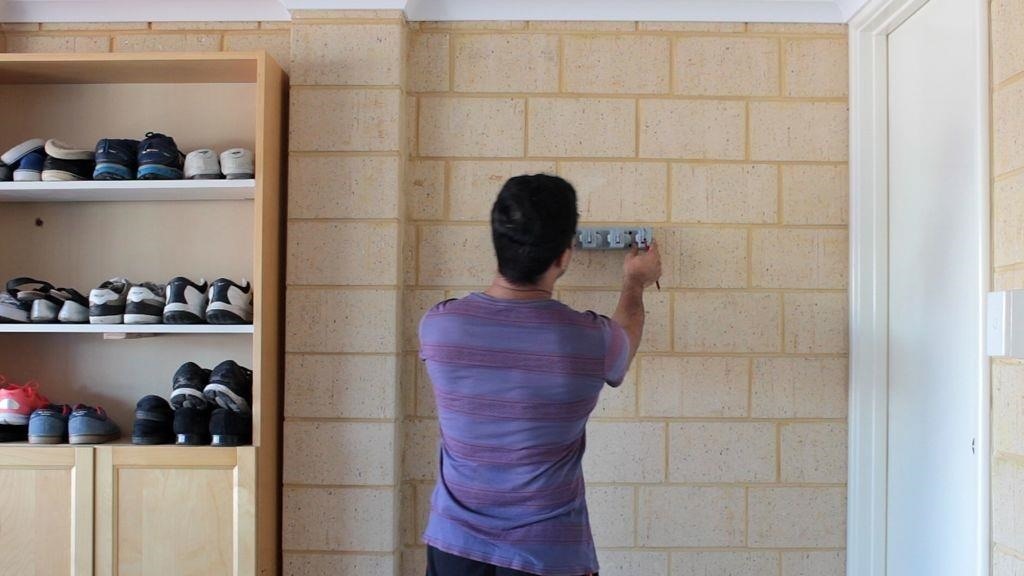
Step 3: Finding the Right Spot
The first thing you need to do is to find a spot where you want to install this unit.
I am installing this one in my garage however you may want to install it in your pantry or behind a door or something like that. Totally depends on how much space you have and where you want to install it.
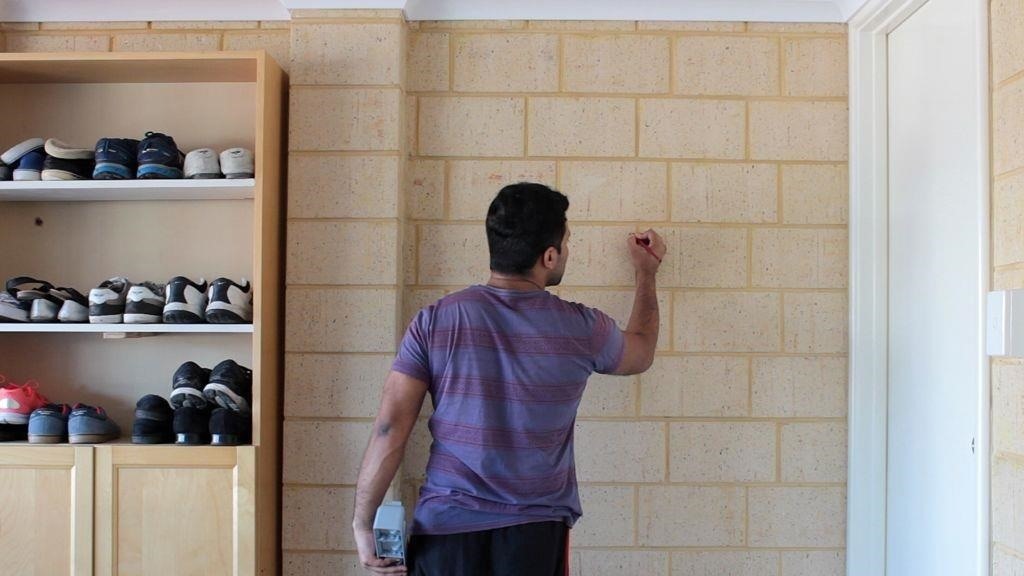
Step 4: Drilling Holes
Place the unit against the wall, and using a pencil mark the points where you want to drilling the holes. Make sure you leave enough room on the left and right for hanging flat head or wide head brooms and mops.
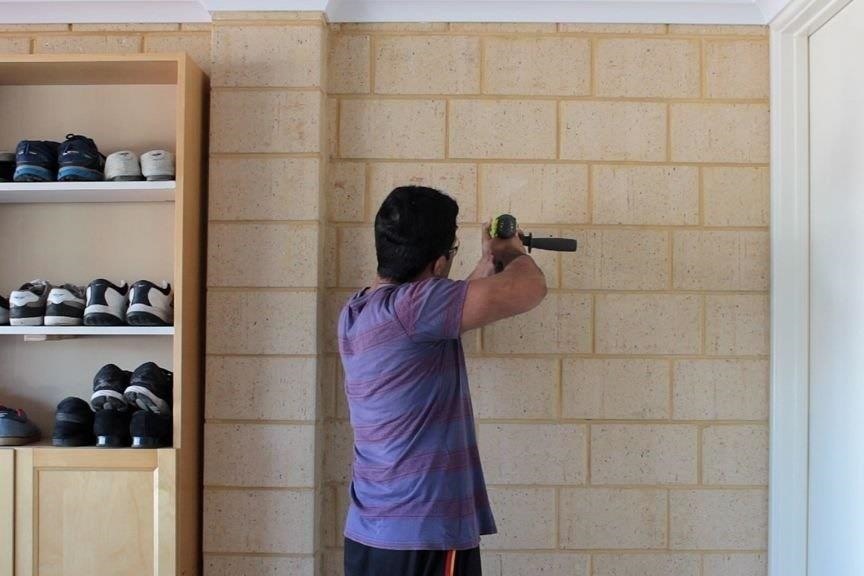
Now, using a hammer drill, drill the holes in the wall. Don't forget to wear a protective glass to save your eyes from any object that becomes airborne during the drilling process.
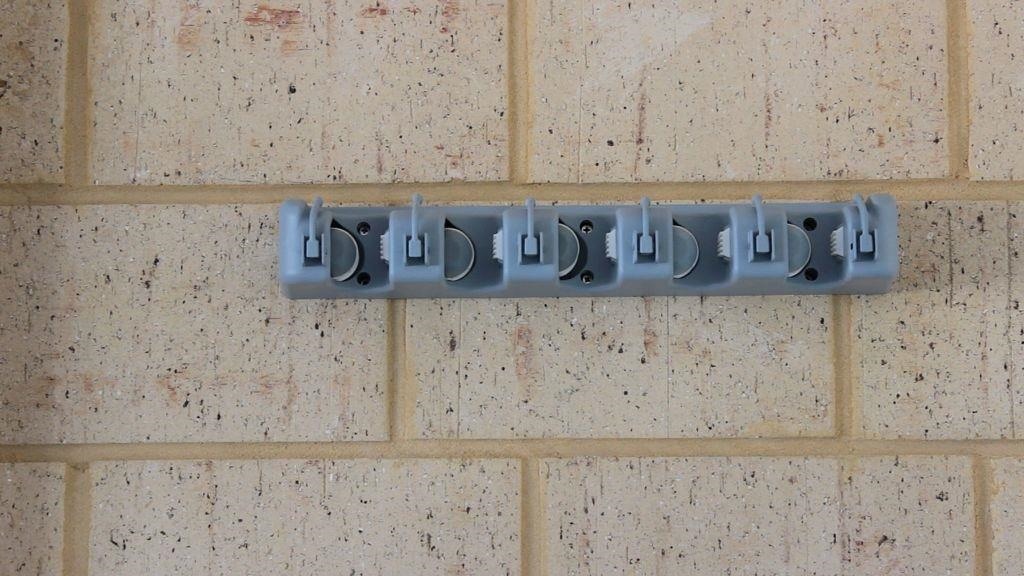
Step 5: Installing the Unit
Now, put the wall plugs in the wall and then using a screw driver install the screws.
Just to make it easy I will install the top right and bottom left screws first. By doing that I will not only free one of my hand but also secure the unit against the wall.
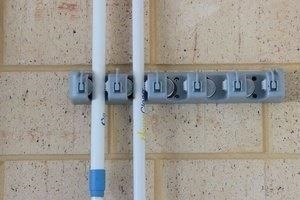
Alright so, thats it. This unit is now all set to hold the brooms and towels in my garage. I will provide the sellers link in the description section below.
Thats it look at that, everything looks so organized now.

Thanks again for watching this video! I hope it helps you. If you want to support me, you can subscribe to my channel and watch my other videos. Thanks, ca again in my next video.


Be the First to Respond
Share Your Thoughts