
full tutorial with video
To make this electrical helicopter you need to prepare:
- 2 types of Popsicle stick (14cm and 12cm)
- 1 plastic bottle
- 2 DC motor (5V)
- Glue, Glue gun
- some lego bricks (catapult, soldiers,...)
- scissors, paper knives
- Drill machine
- Switched Battery Box 2xAA
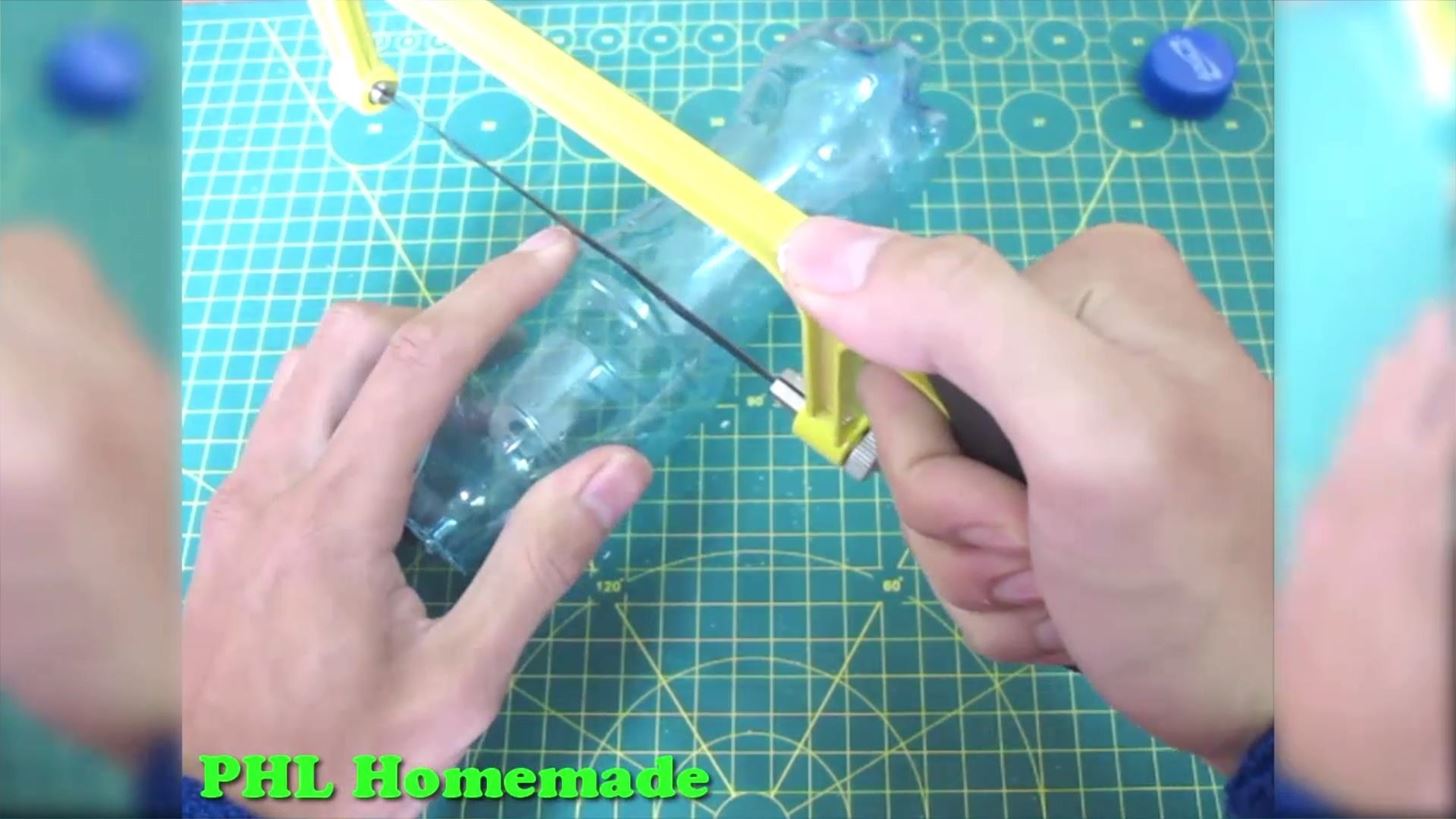
Step 1: Make Cockpit
Cutting a half of plastic bottle to make helicopter cockpit
Step 2: Make Cockpit
Using Glue gun to attach 6 popsicle sticks (12cm) and Cutting a round with radius equal plastic bottle radius

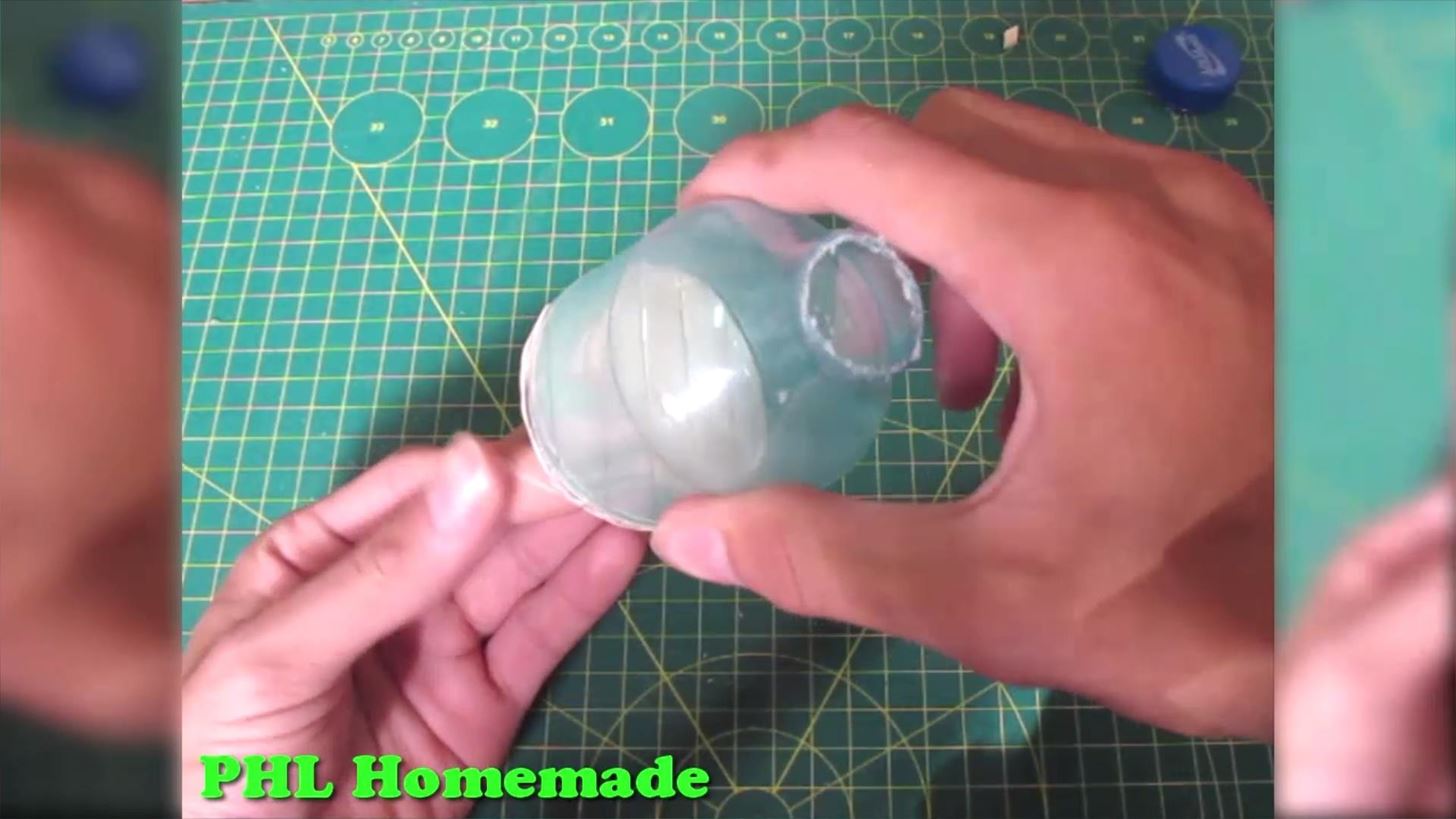
Step 3: Make Cockpit
Attach 2 parts together
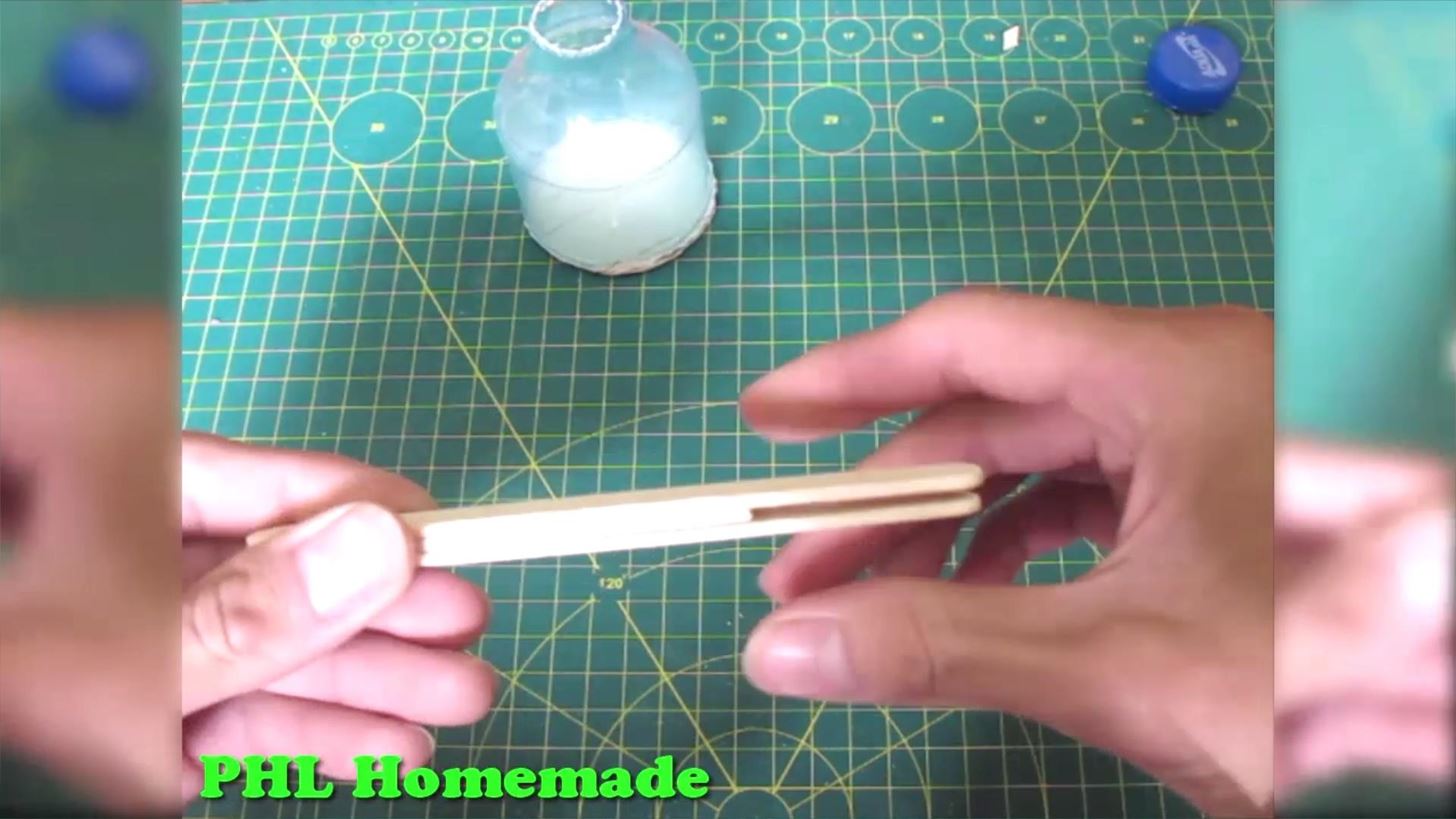
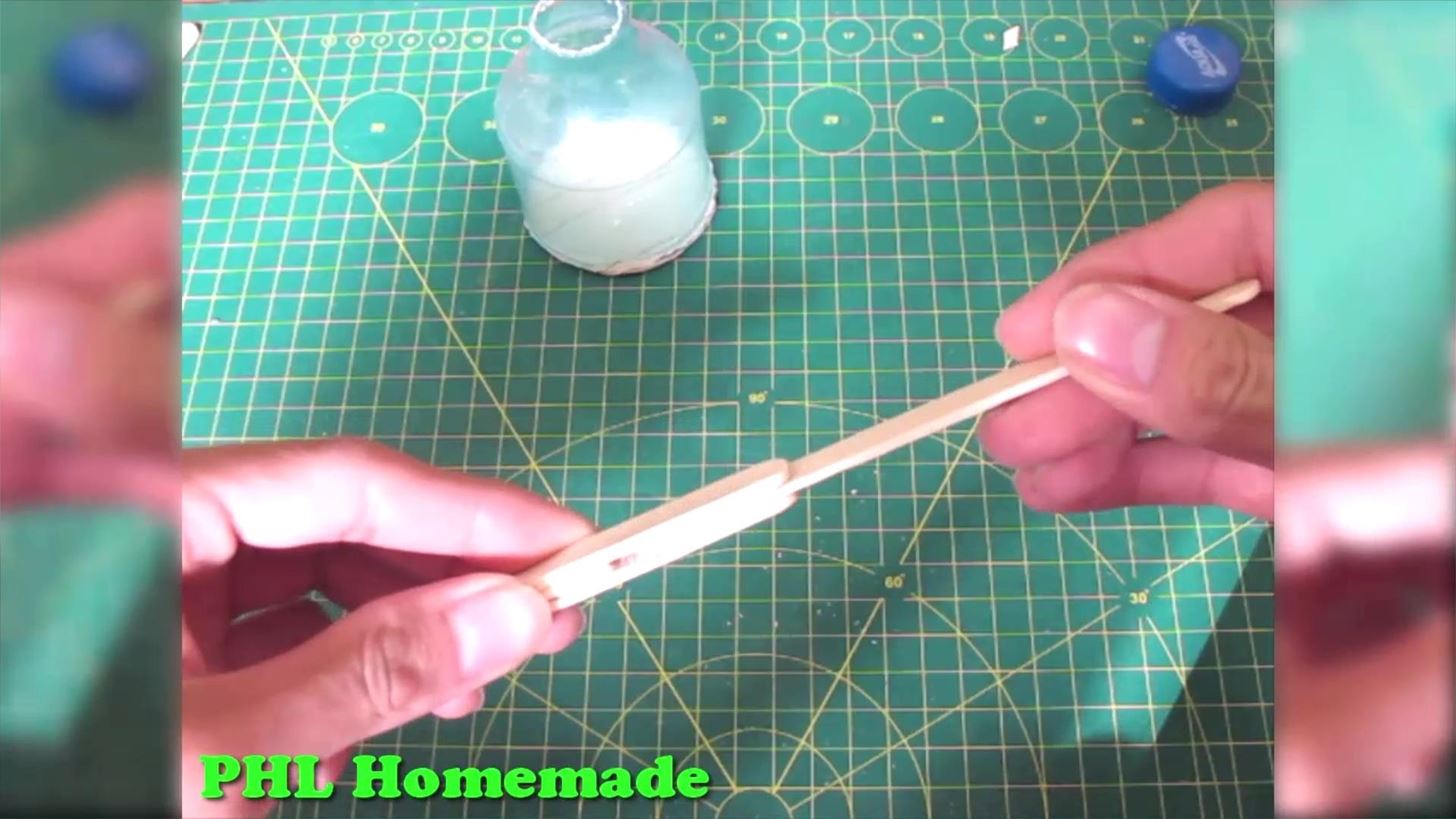
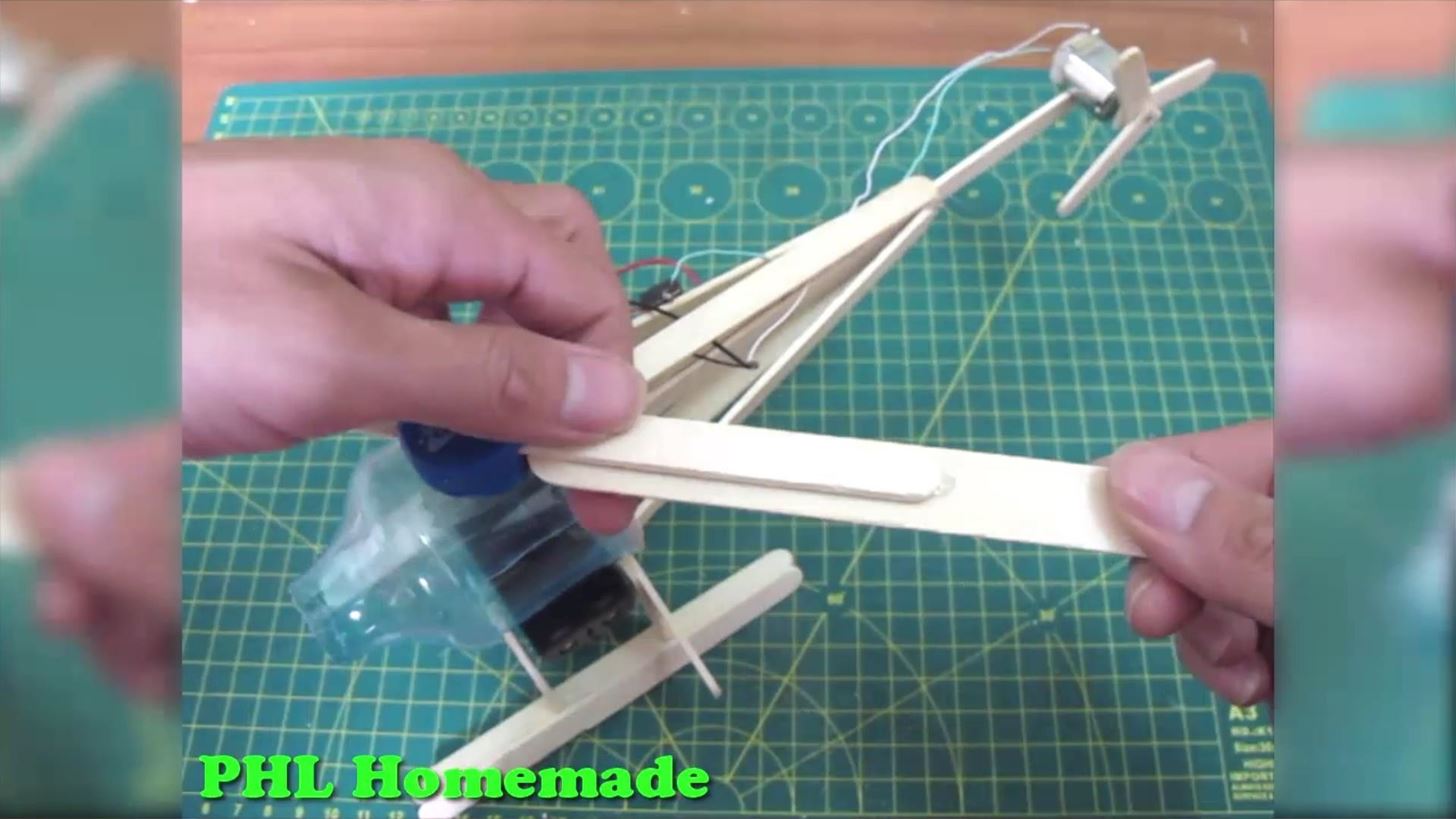
Step 4: Make Helicopter Body
Attach 3 sticks together (14cm), the length of middle stick is shorter
Step 5: Make Helicopter Body
Using another stick (12cm) to attach at the middle
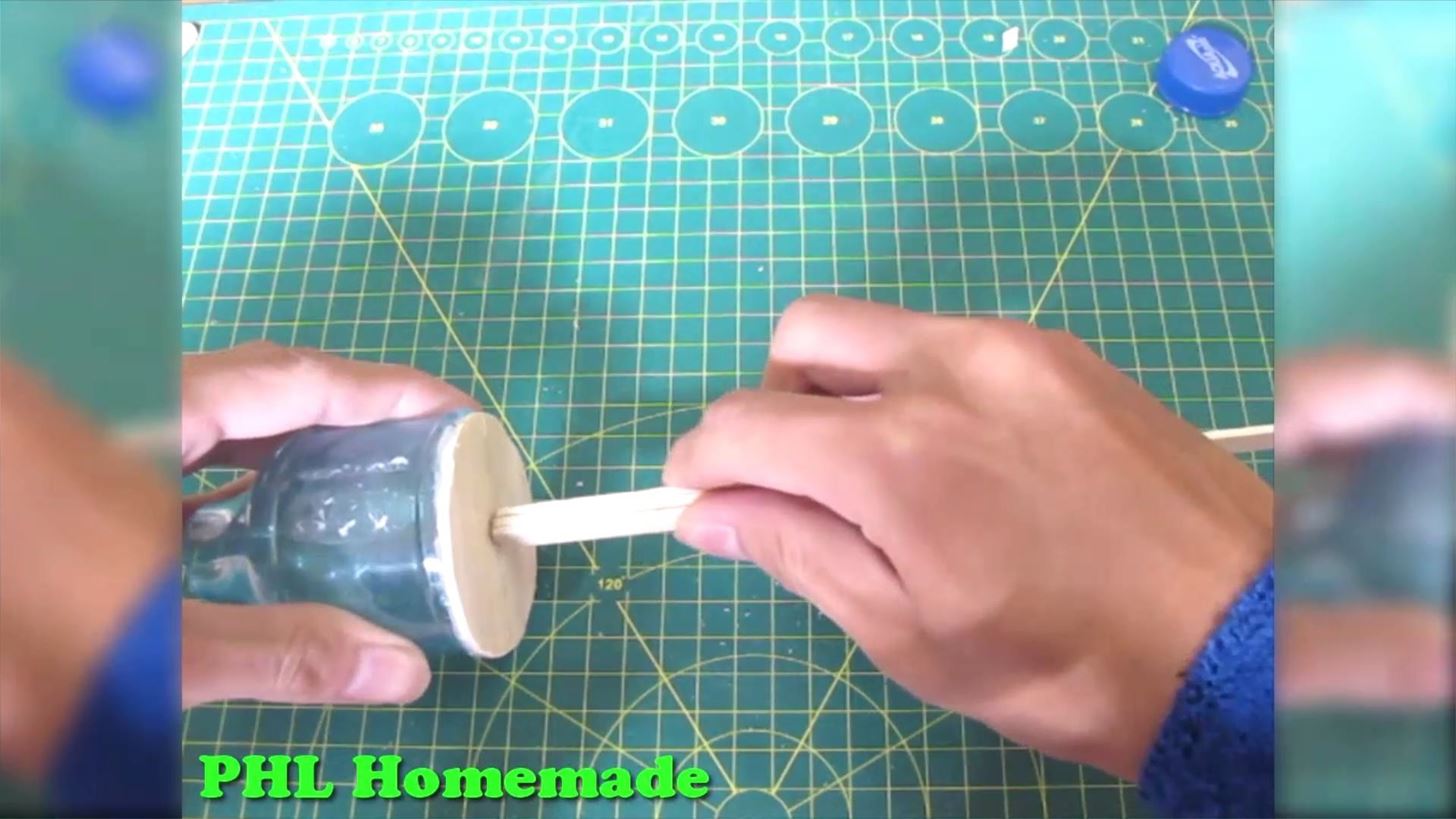
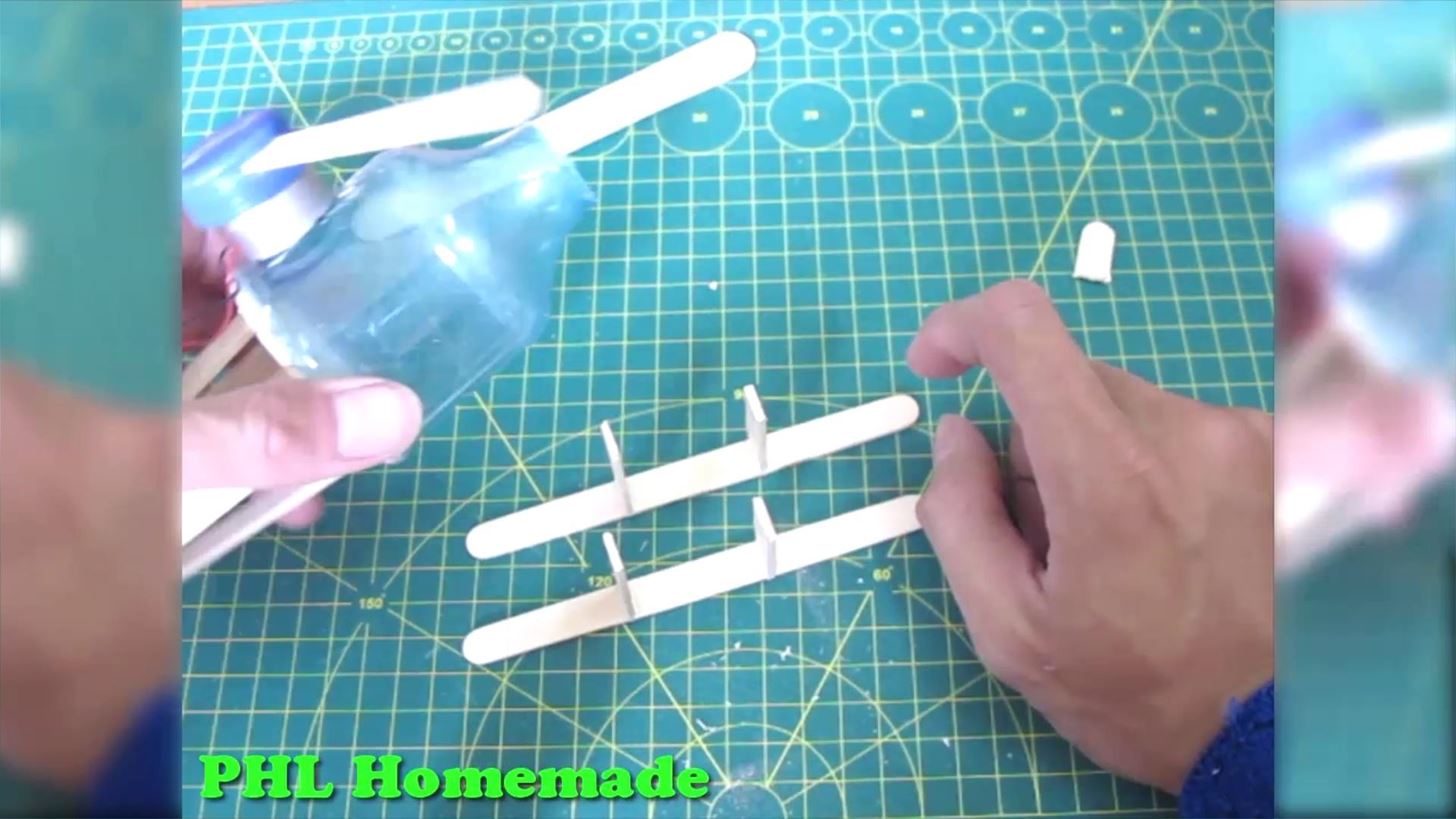
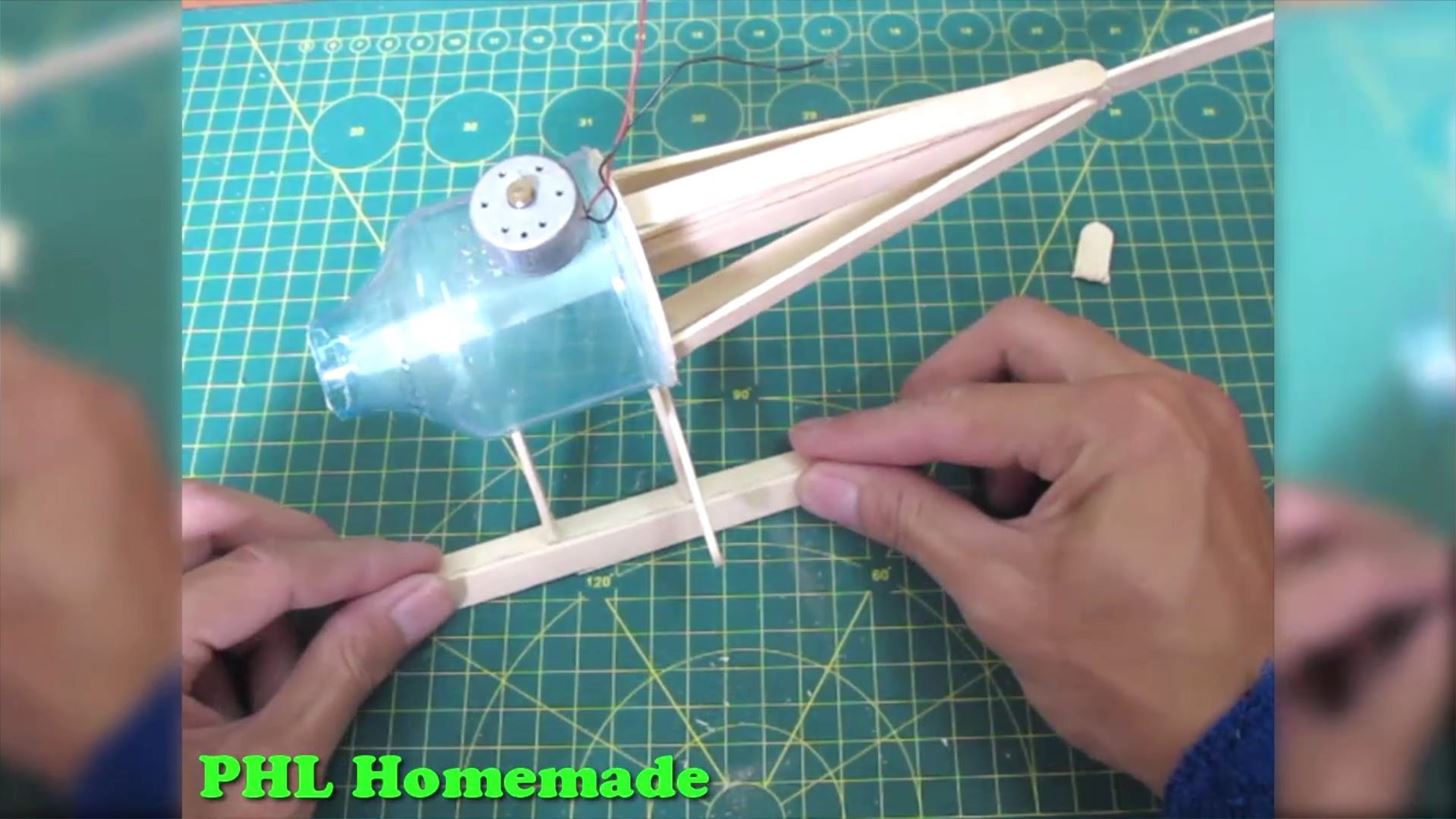
Step 6: Make Helicopter Body
Attach the body to the cockpit of helicopter
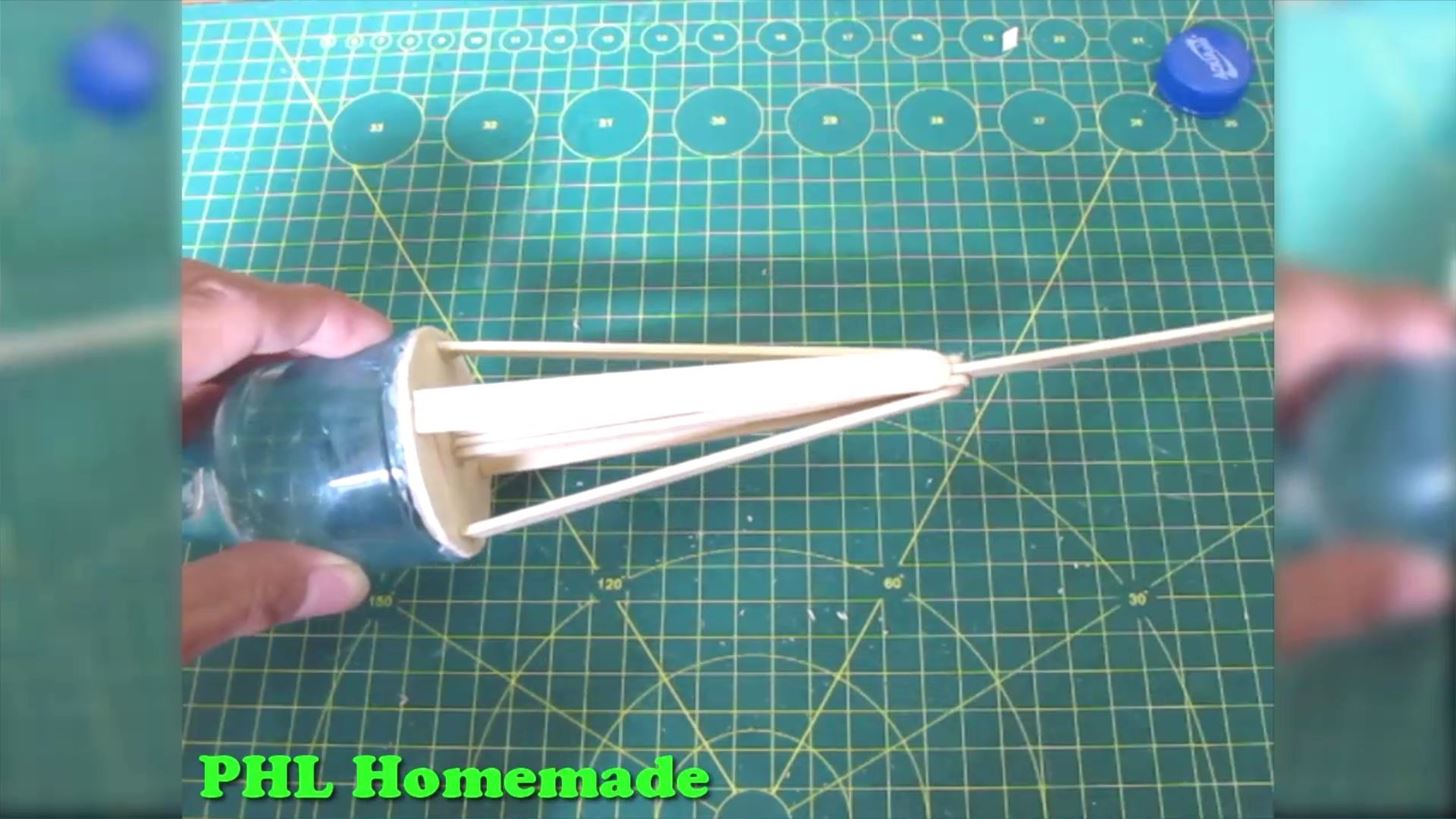
Step 7: Make Helicopter Body
To make helicopter more secure, we need to attach 2 sticks from the body to the cockpit

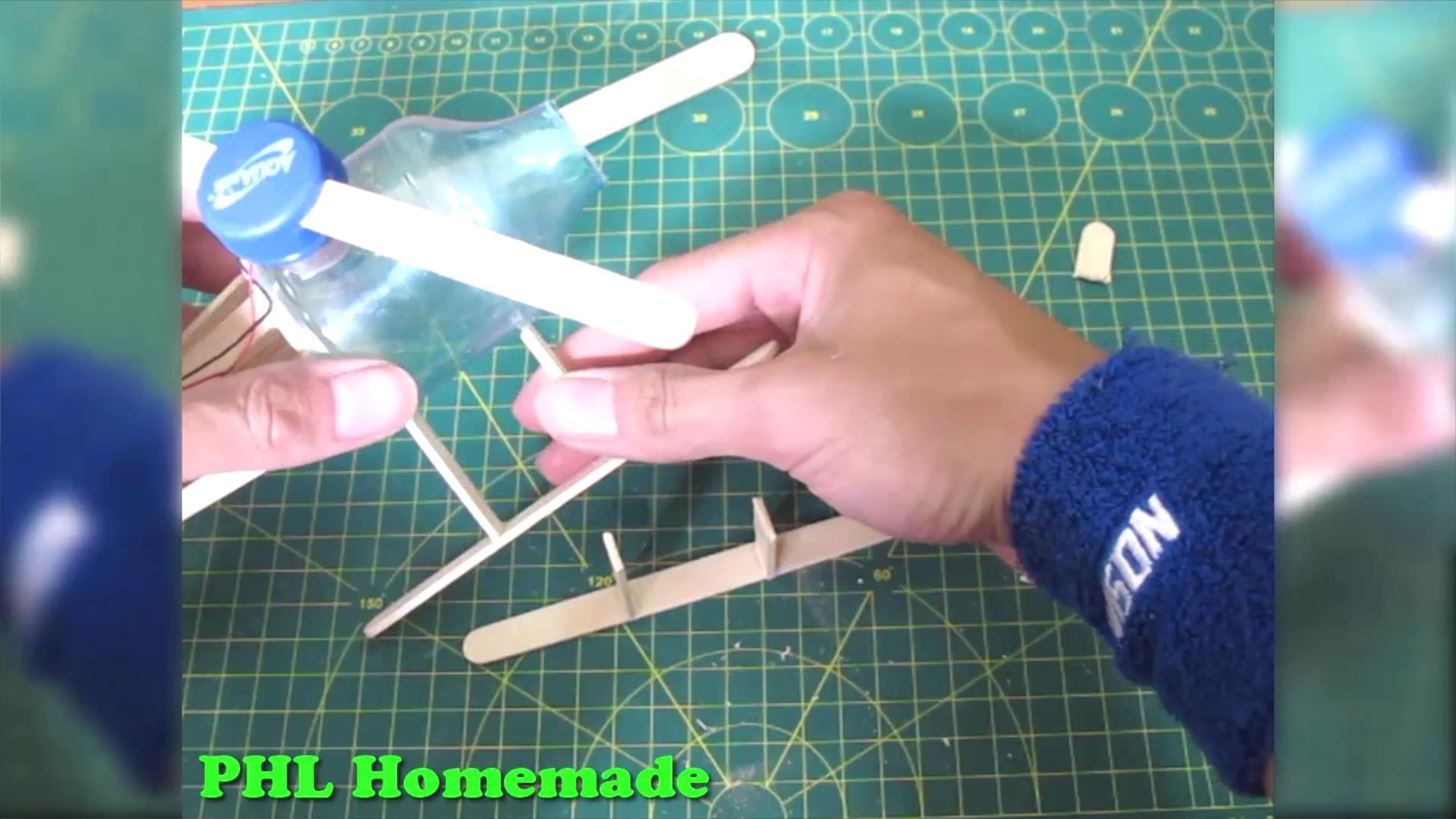
Step 8: Make Helicopter Body
Using 2 more sticks at Perpendicular position
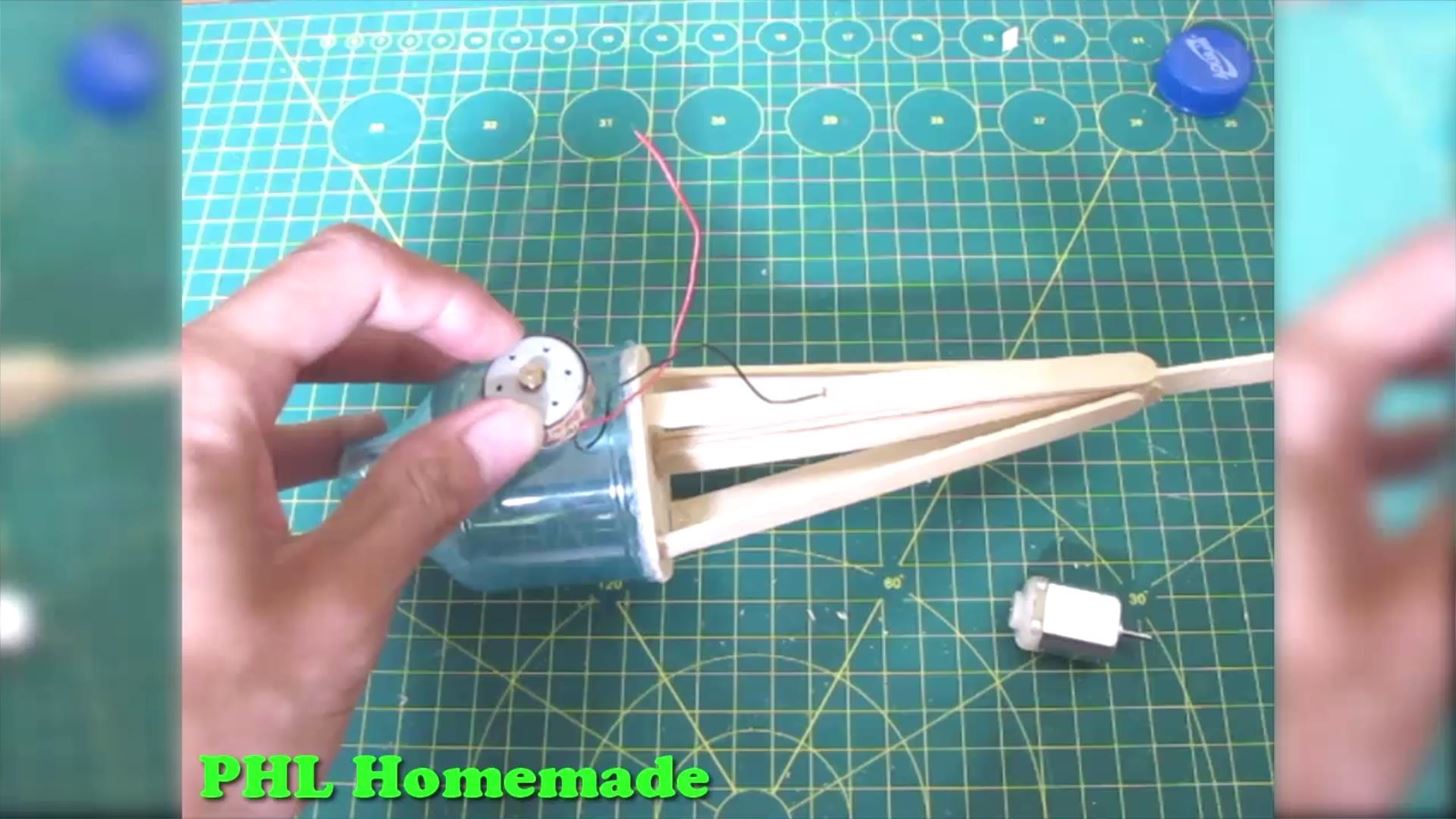
Step 9: Make Helicopter Rotor
Using 5 V Dc motor to attach to the head of the cockpit to make rotor
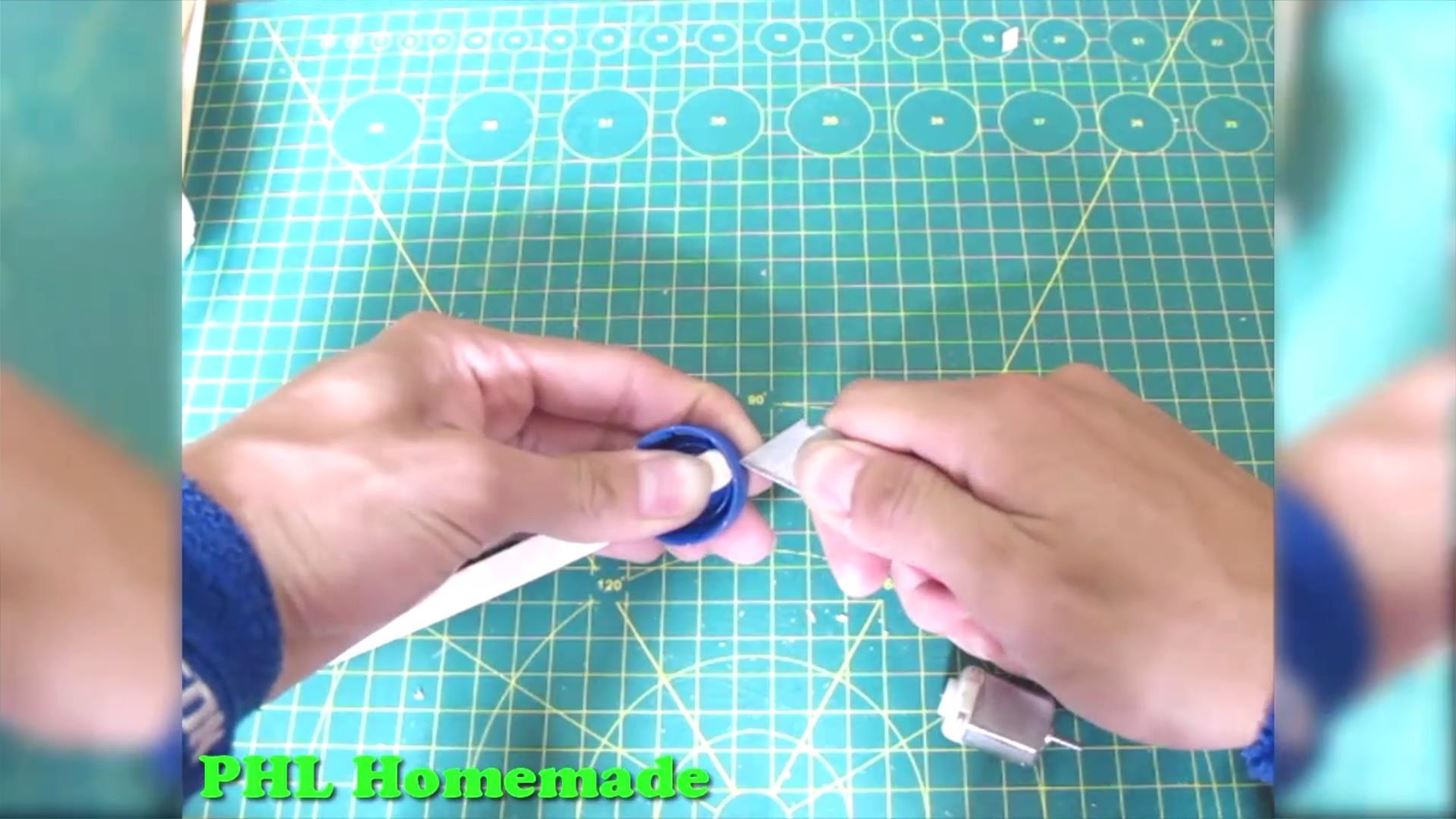
Step 10: Make Helicopter Rotor
Using paper knives to cut 2 sides of plastic bottle cap to make the wing of helicopter
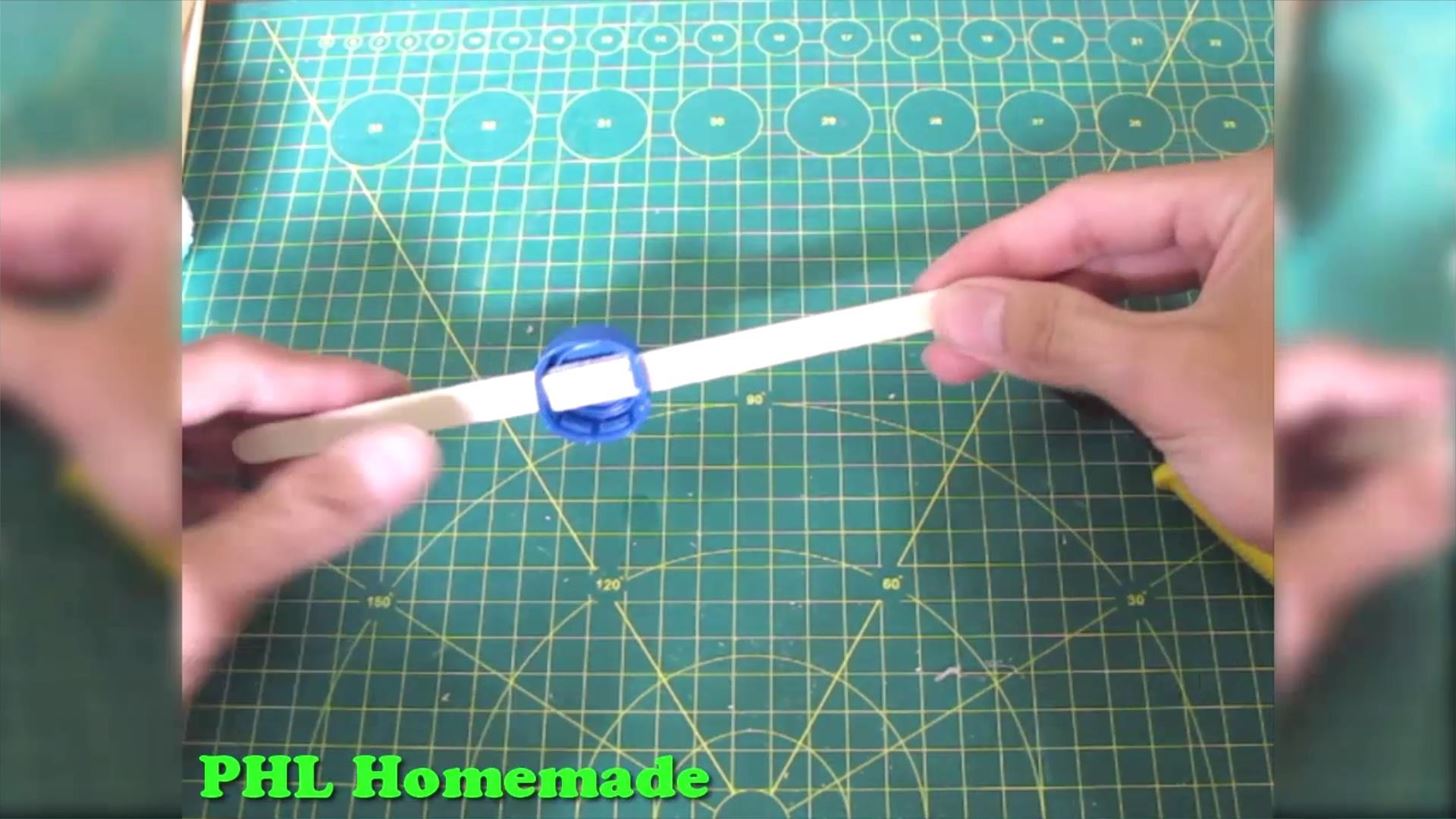
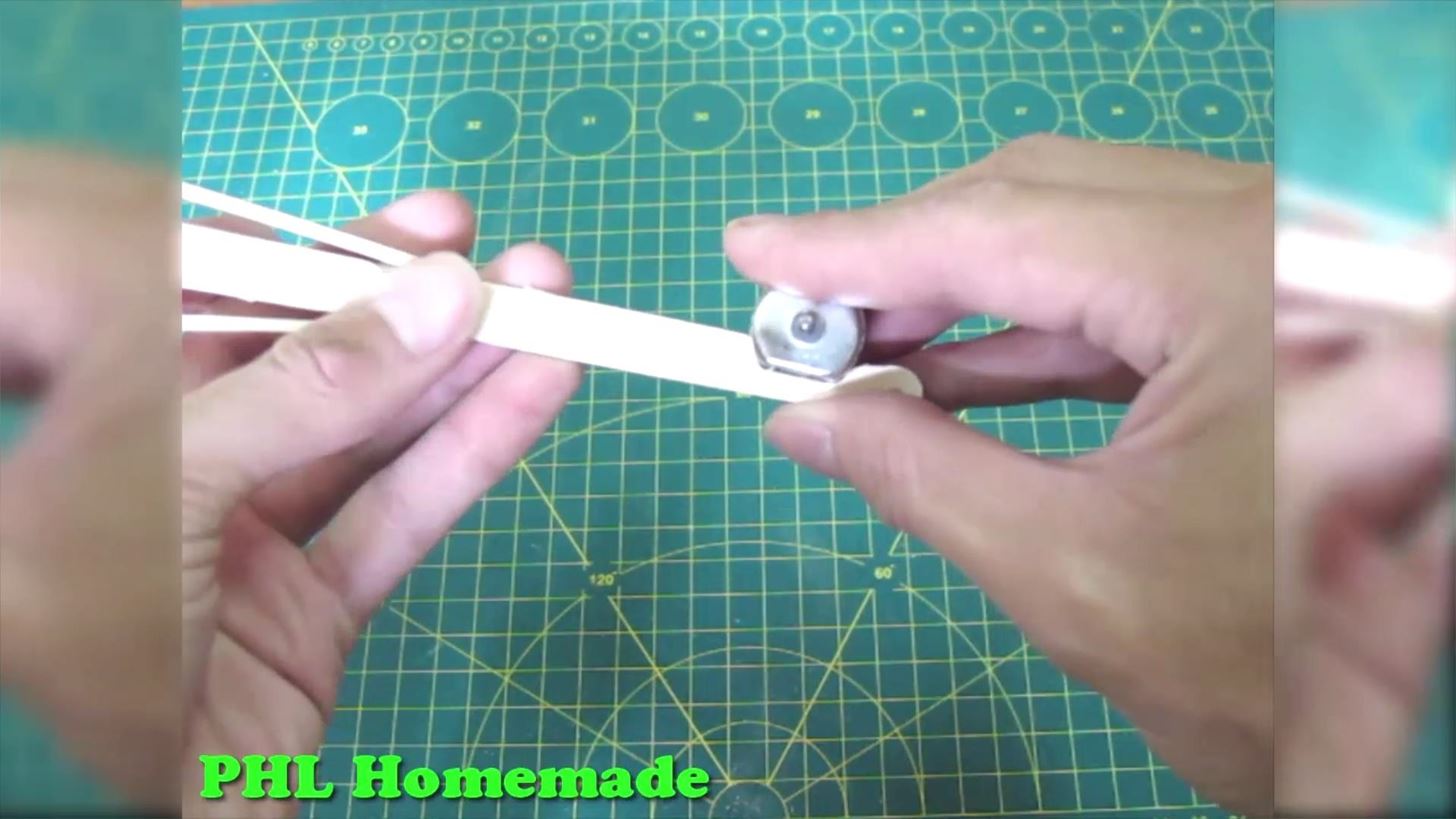
Step 11: Make Helicopter Rotor
Complete the wing with 2 sticks
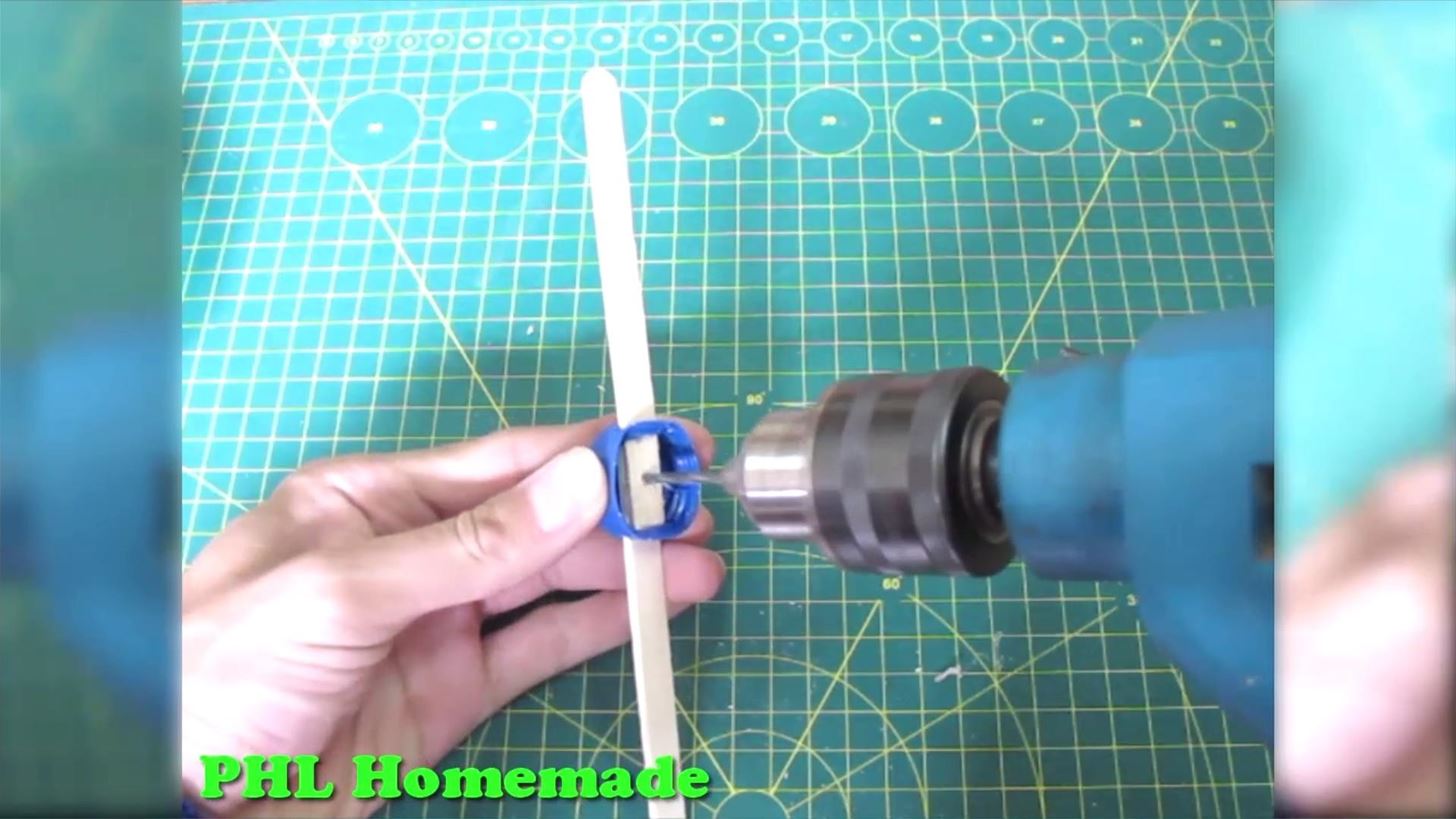
Step 12: Make Helicopter Rotor
Drill a hole in the middle of the cap because you need to attach cap to the DC motor
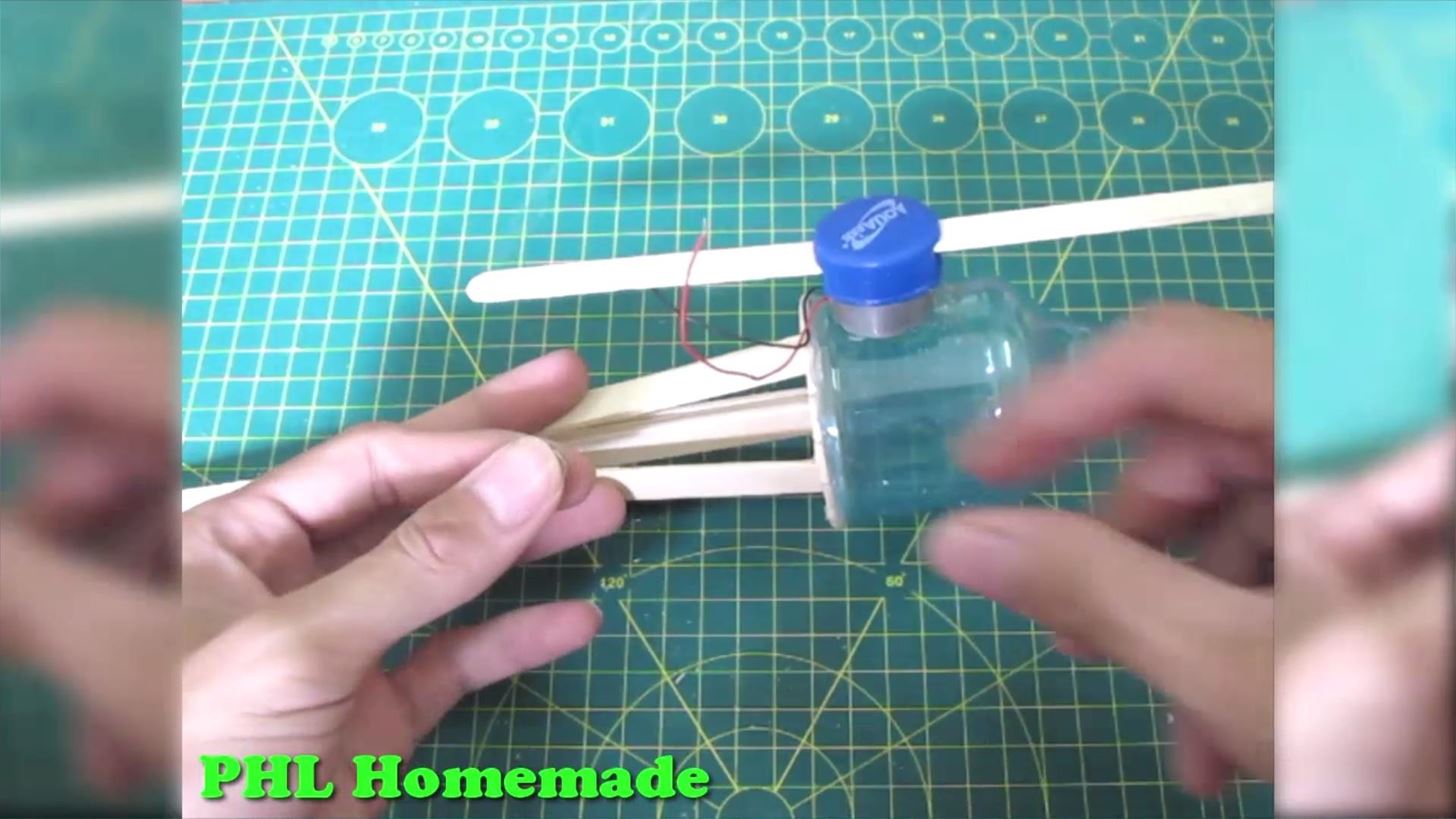
Step 13: Make Helicopter Rotor
Attach the wing to the DC motor and we completed the rotor part of helicopter
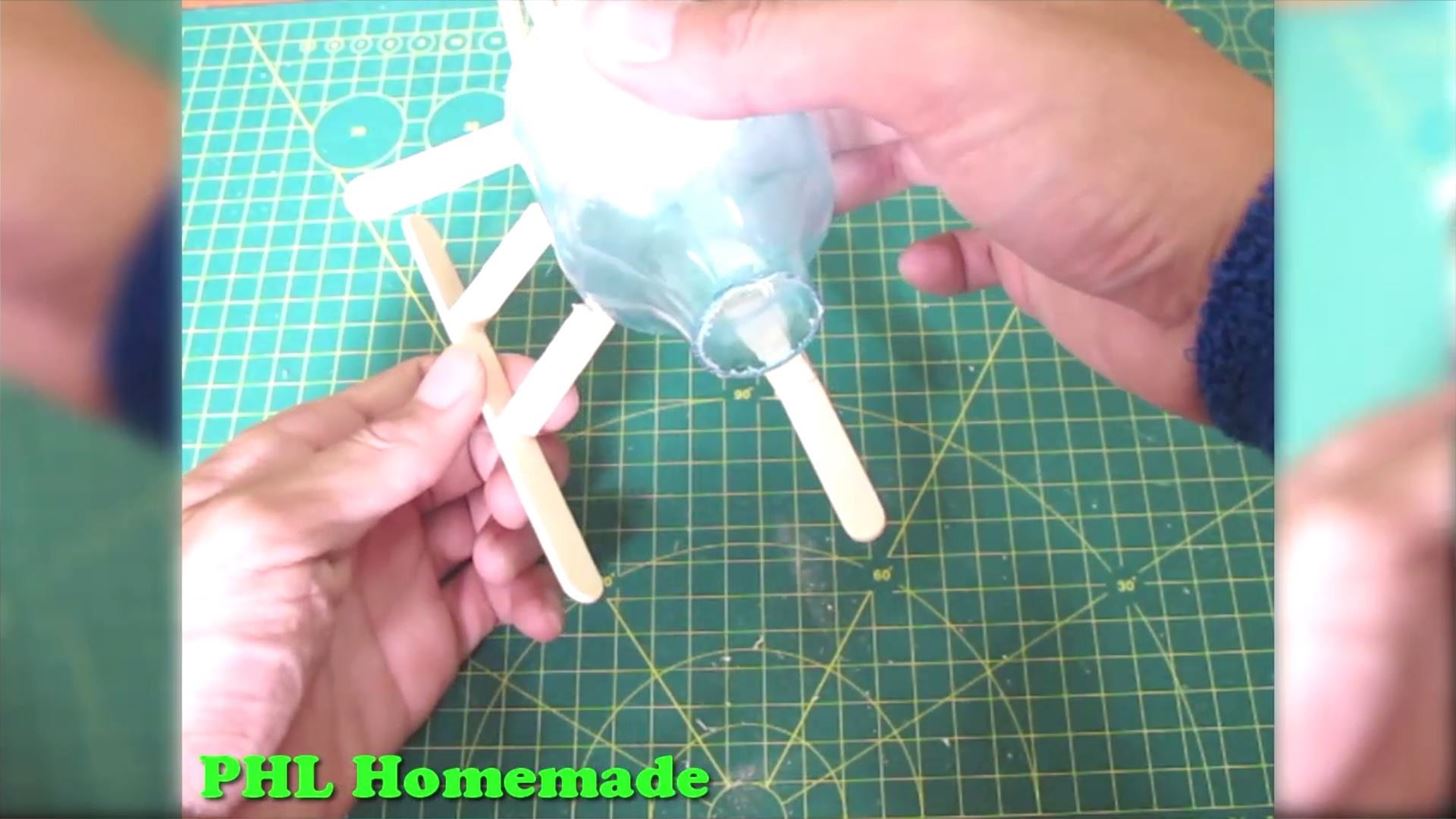
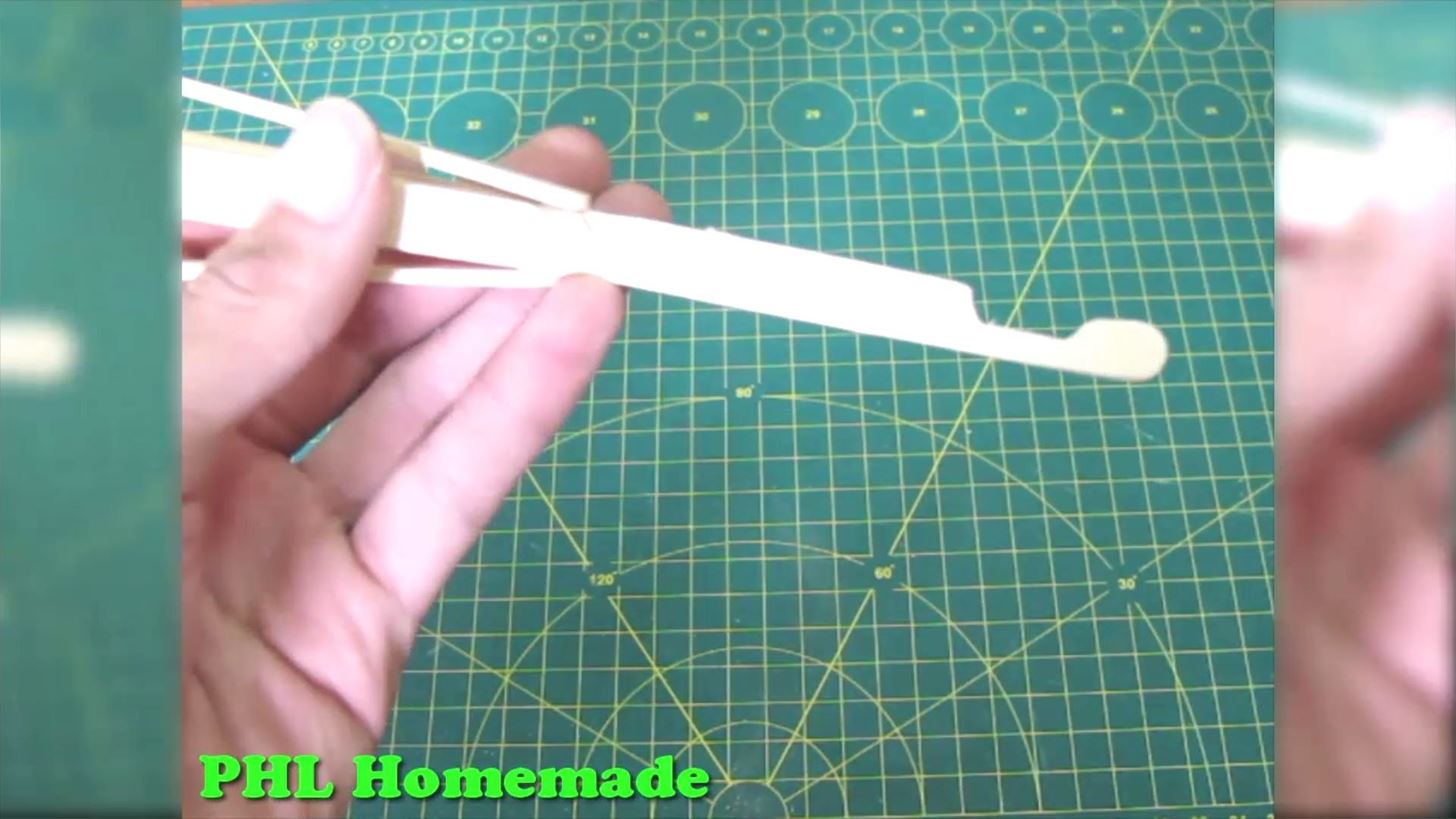
Step 14: Make Landing Skids
Create landing skids by attaching 2 small sticks to the long stick with With a 90-degree angle (12 cm)
Step 15: Make Landing Skids
Attach landing skids to the cockpit
Step 16: Make Landing Skids
Complete the landing skids of the helicopter
Step 17: Make Landing Skids
To ensure the strength of landing skids, We'll attach a stick at 2 sides of landing skids like picture
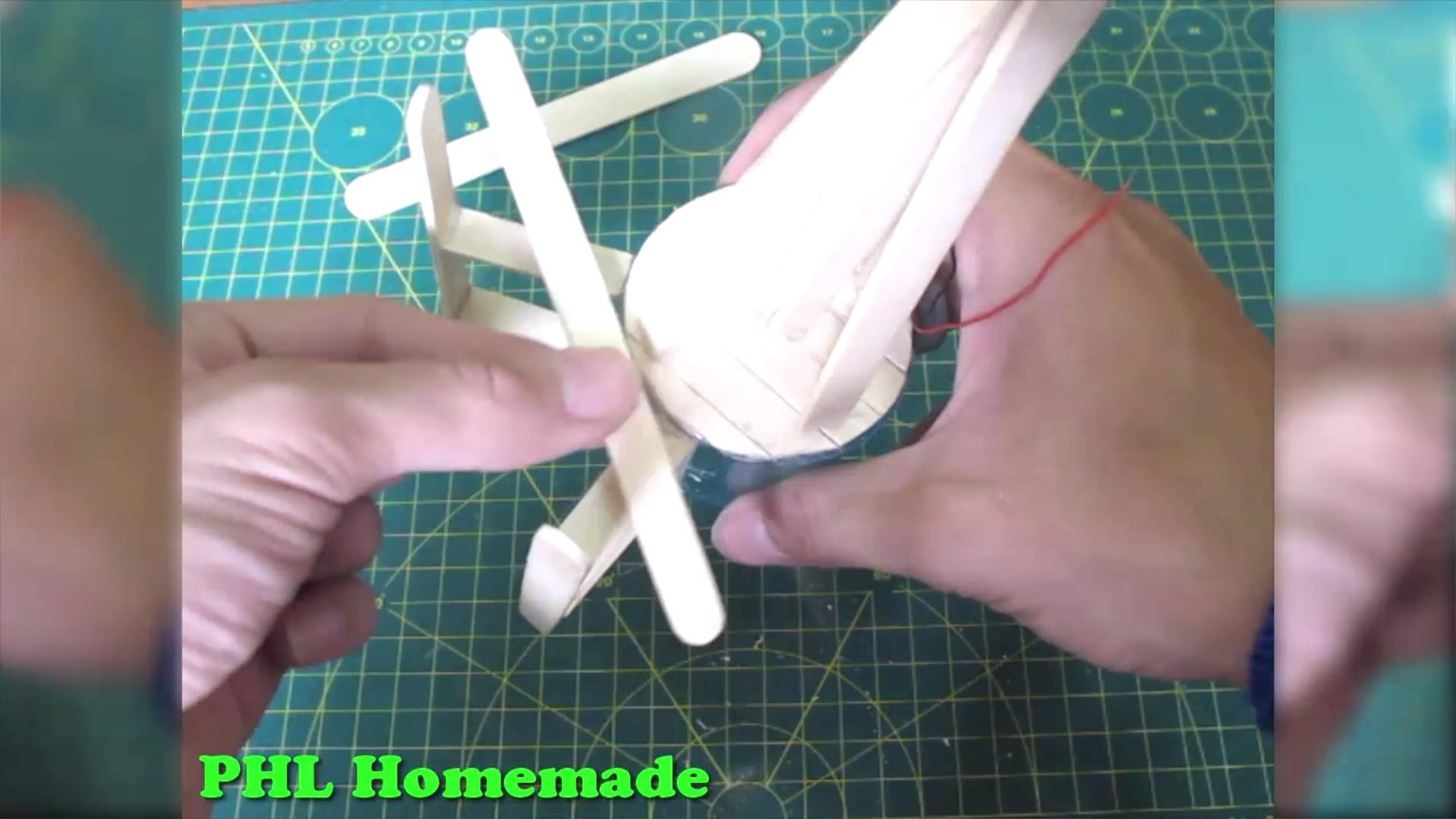
Step 18: Make Landing Skids
To be more beautiful, we'll attach 1 stick to the part which contacts with the ground
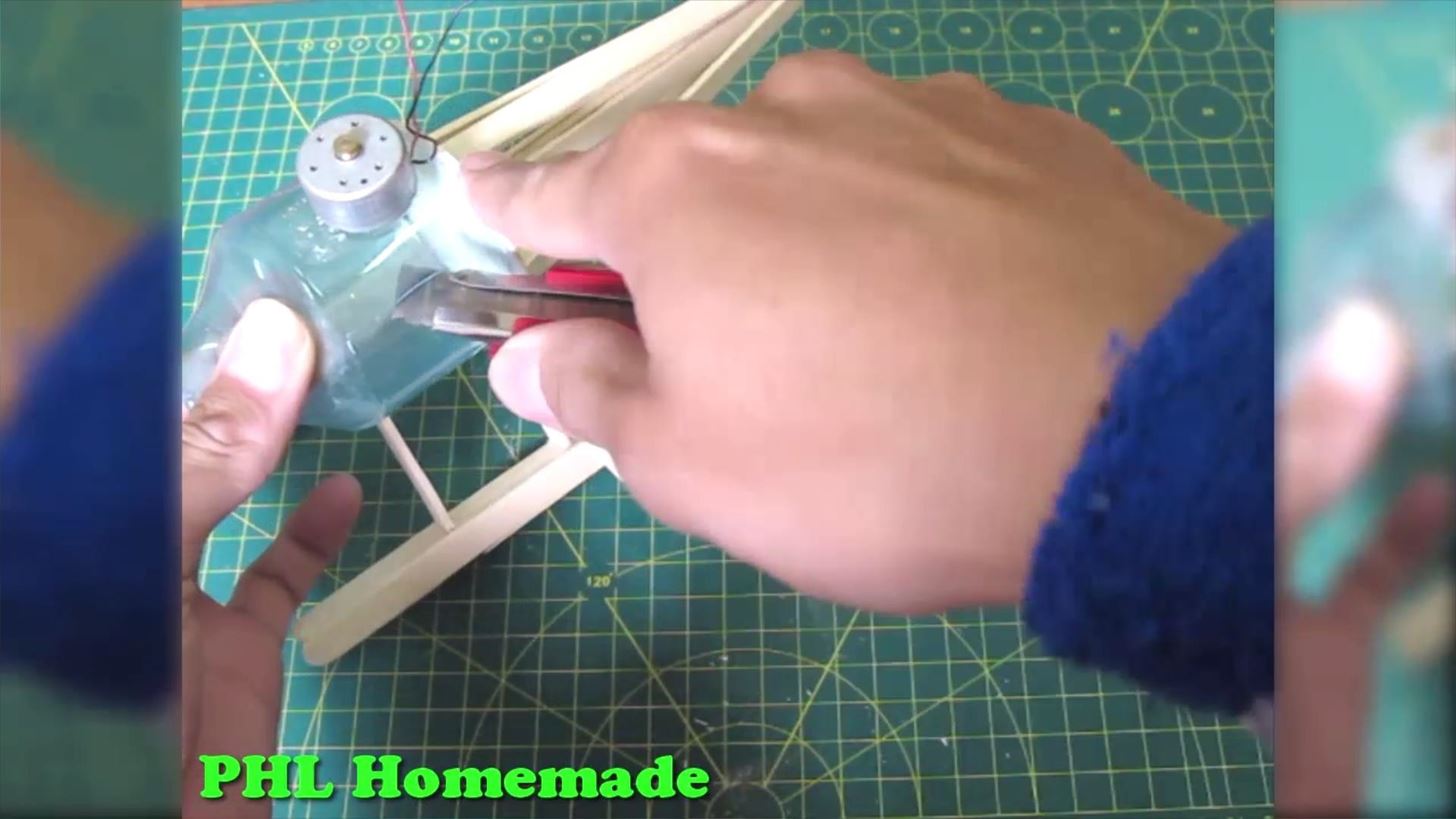
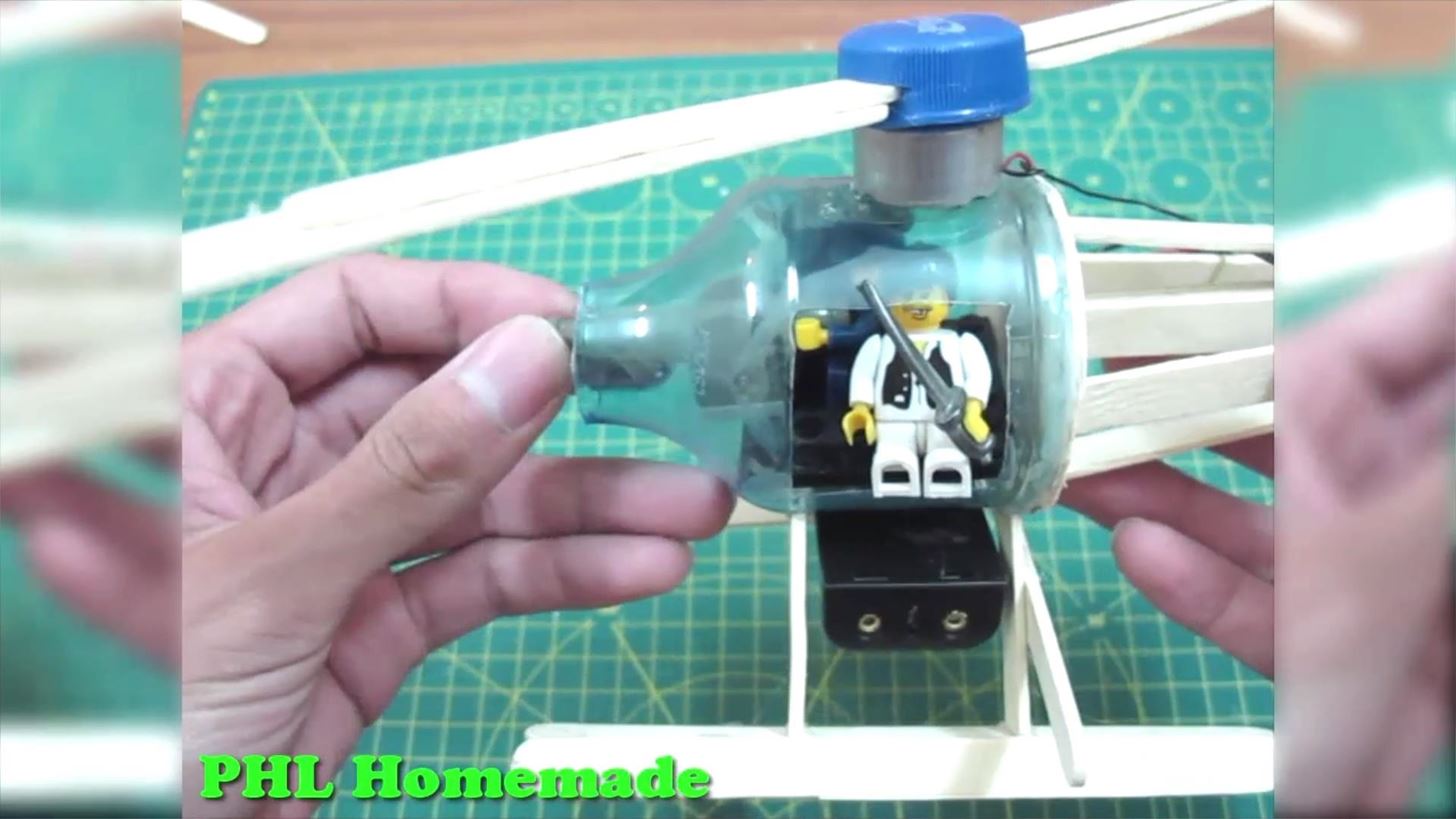
Step 19: Make Cockpit Door
We'll cut a small rectangular part of the cockpit to create a door
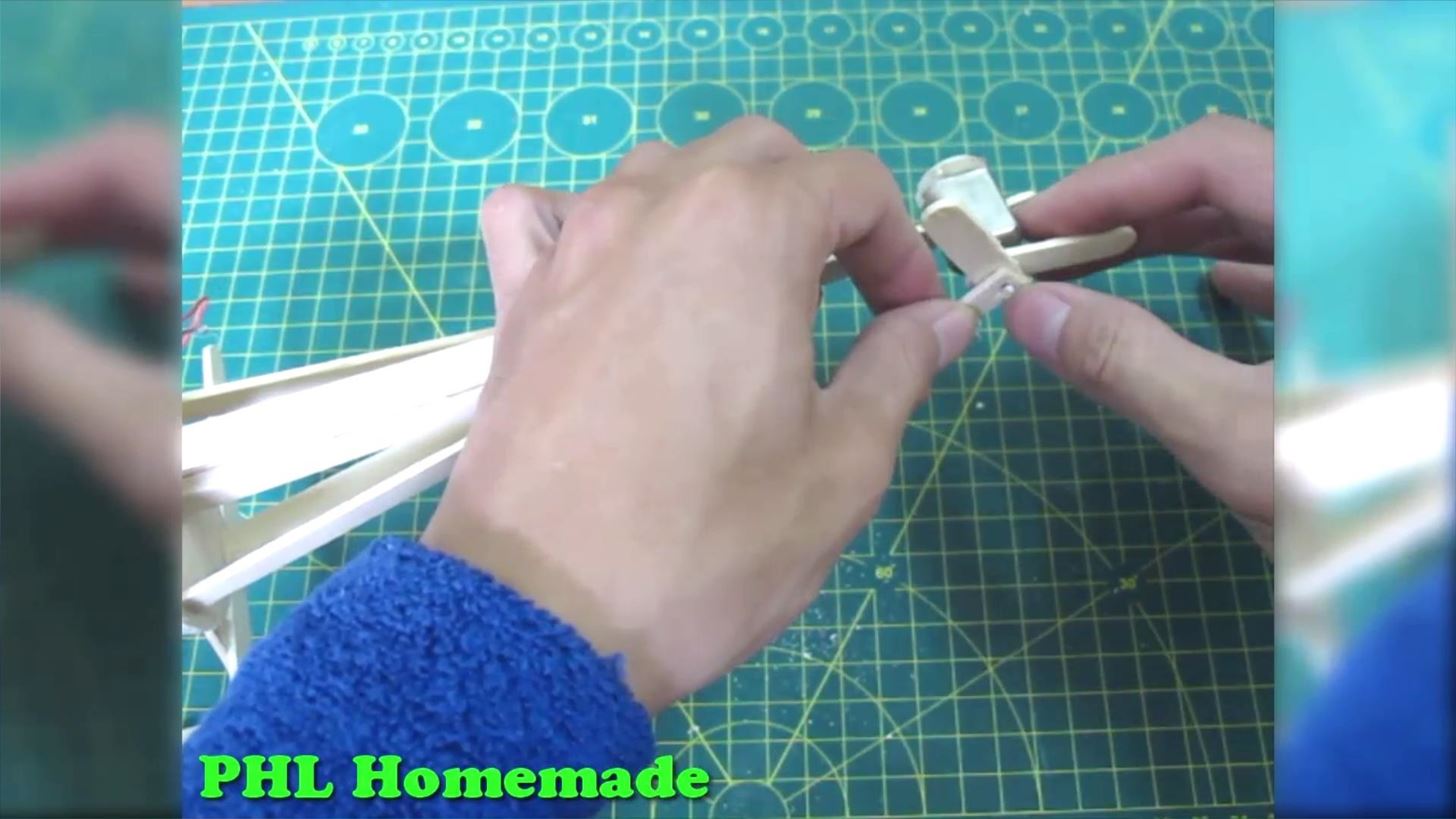
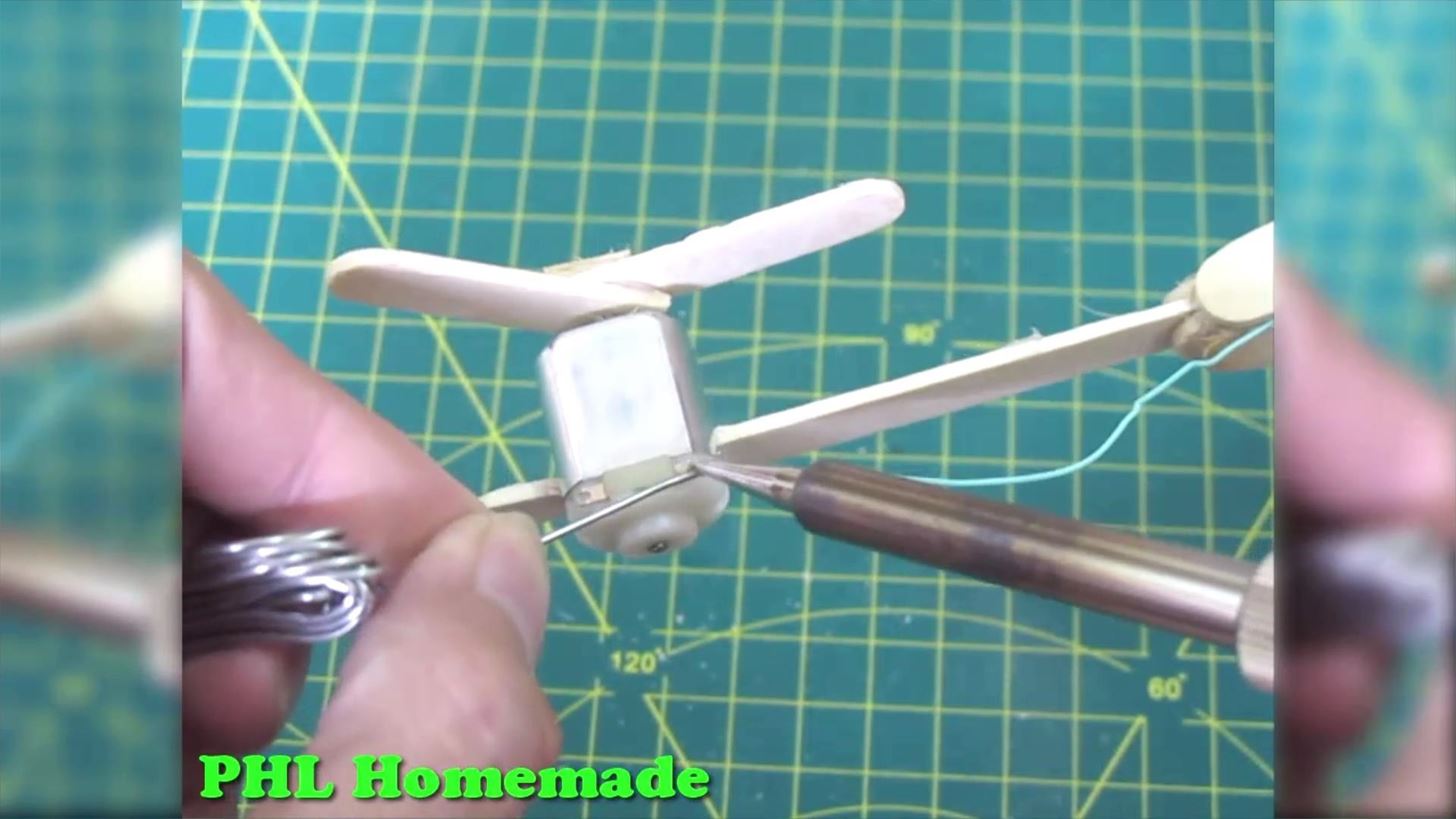
Step 20: Make Tail Rotor
Carving a small part at the tail to create a place put a tail rotor
Step 21: Make Tail Rotor
Using 5V DC motor to make tail rotor
Step 22: Make Tail Rotor
- To create the wing of tail rotor, we'll attach 3 small sticks with 120-degree angle by glue
- After that, we'll drill a hole in the middle of wing because you need to attach it to the motor
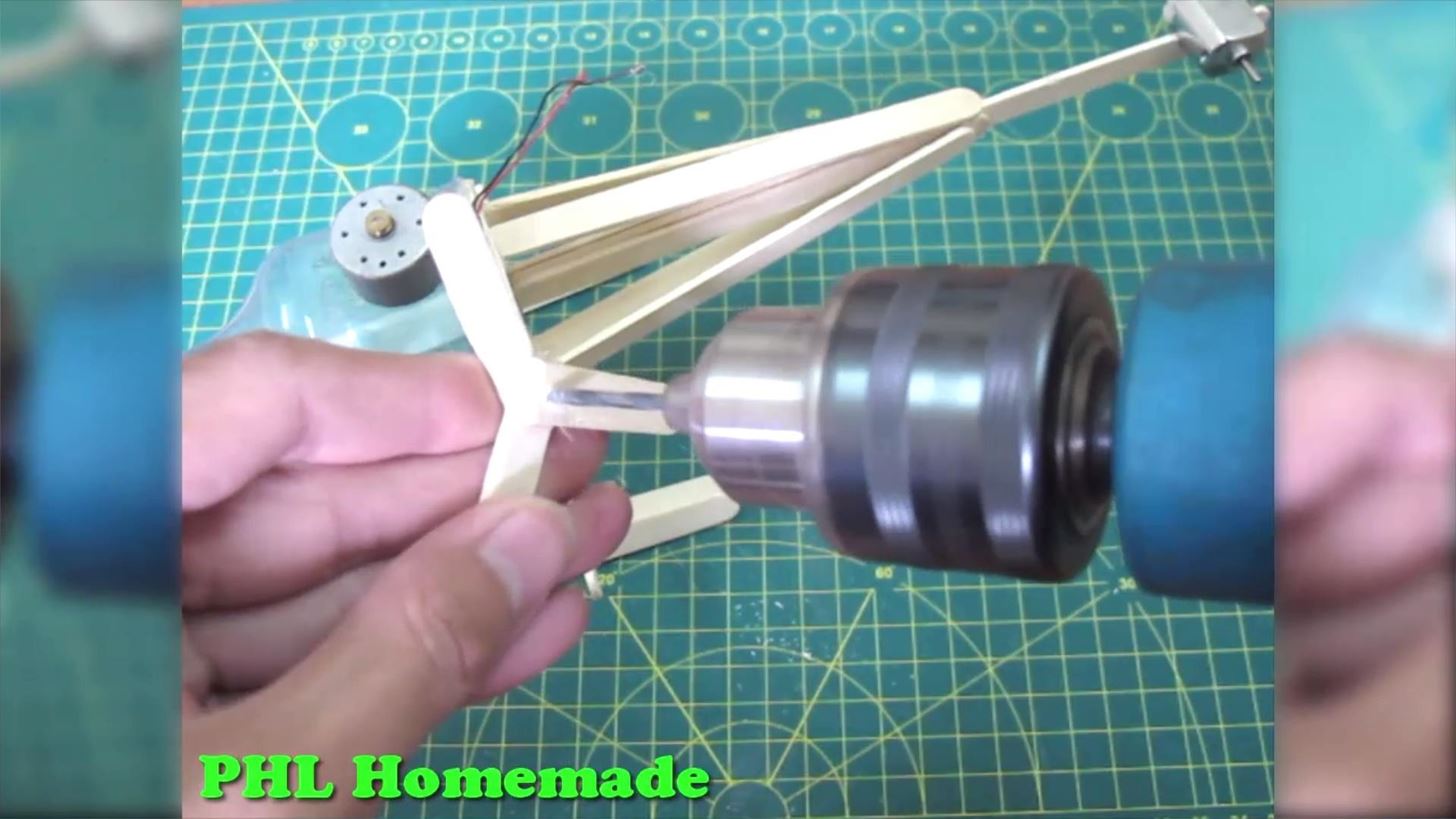
Step 23: Make Tail Rotor
Complete the tail rotor
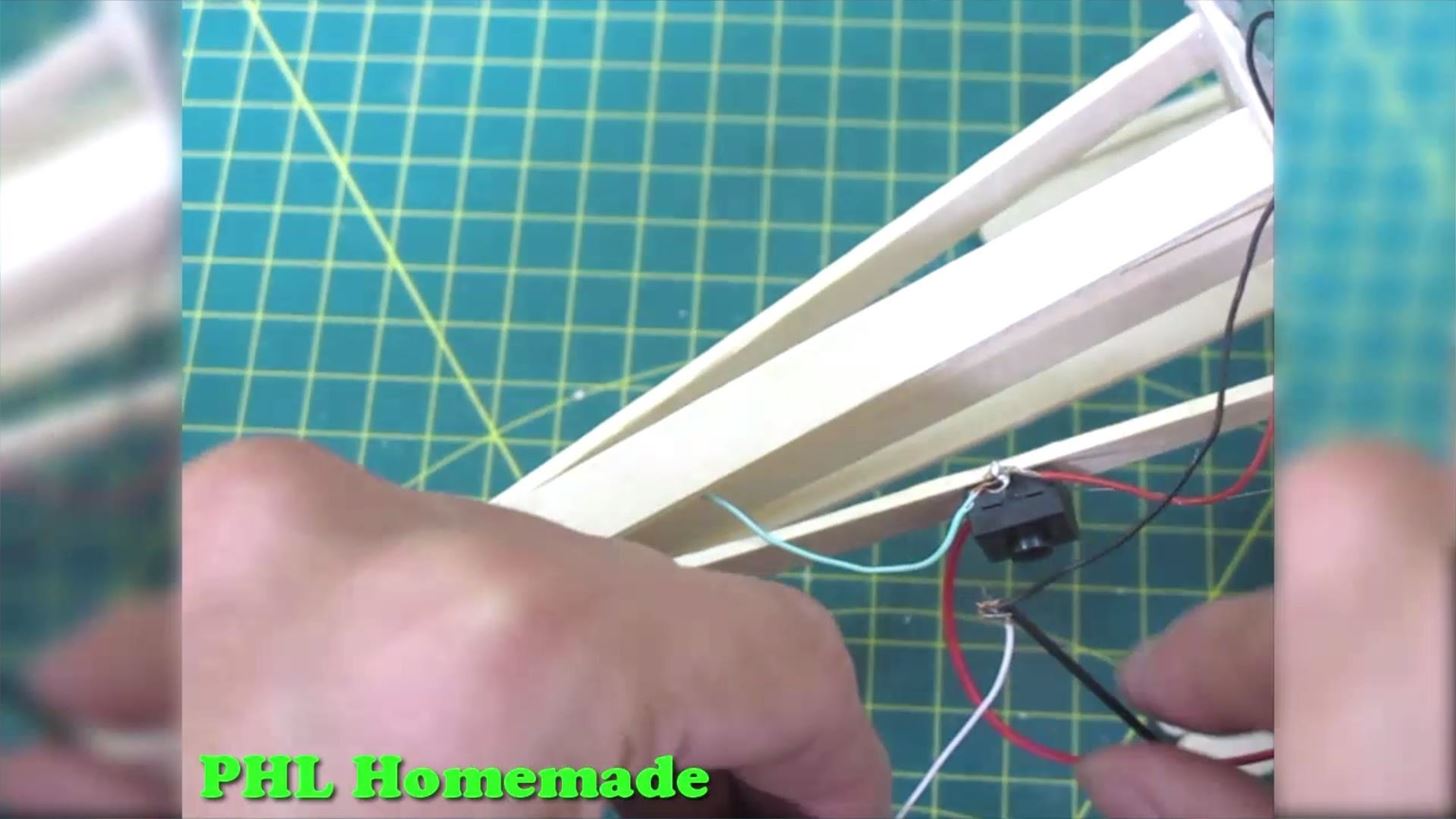
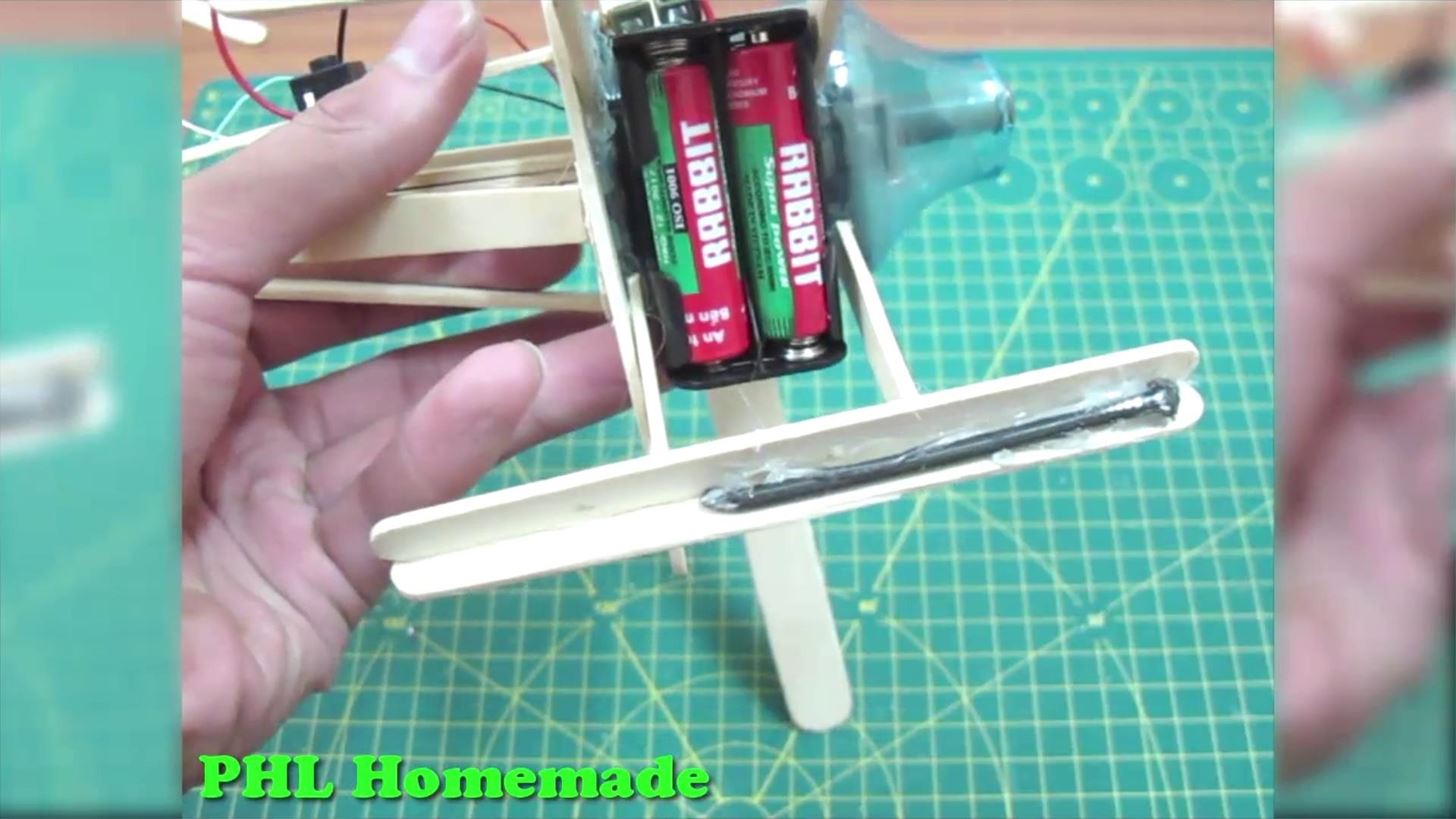
Step 24: Make Electric Part
Attach Switched Battery Box 2xAA behind the cockpit
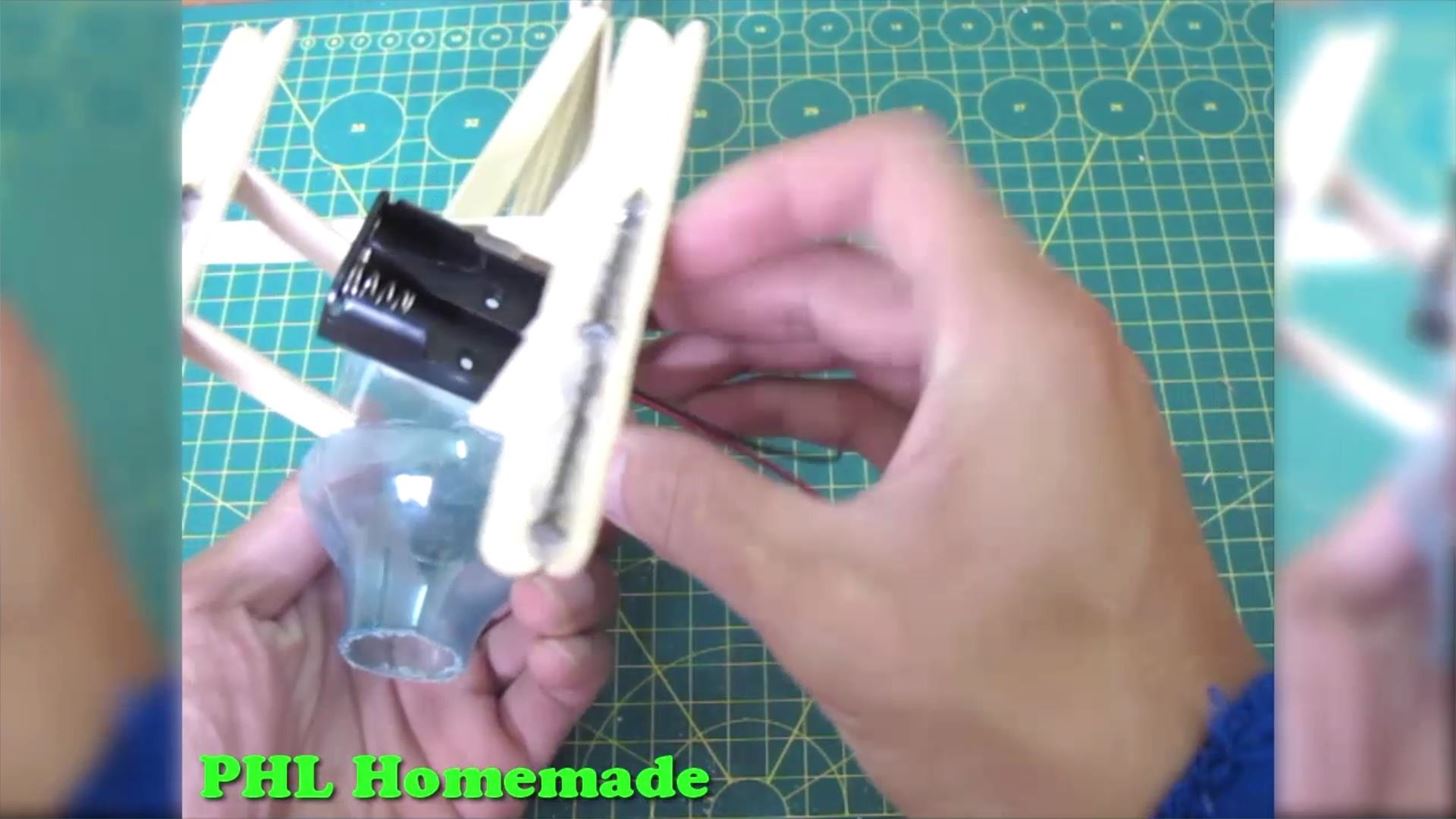
Step 25: Make Electric Part
Solder 1 pole of Motor (rotor mast) to 1 pole of button
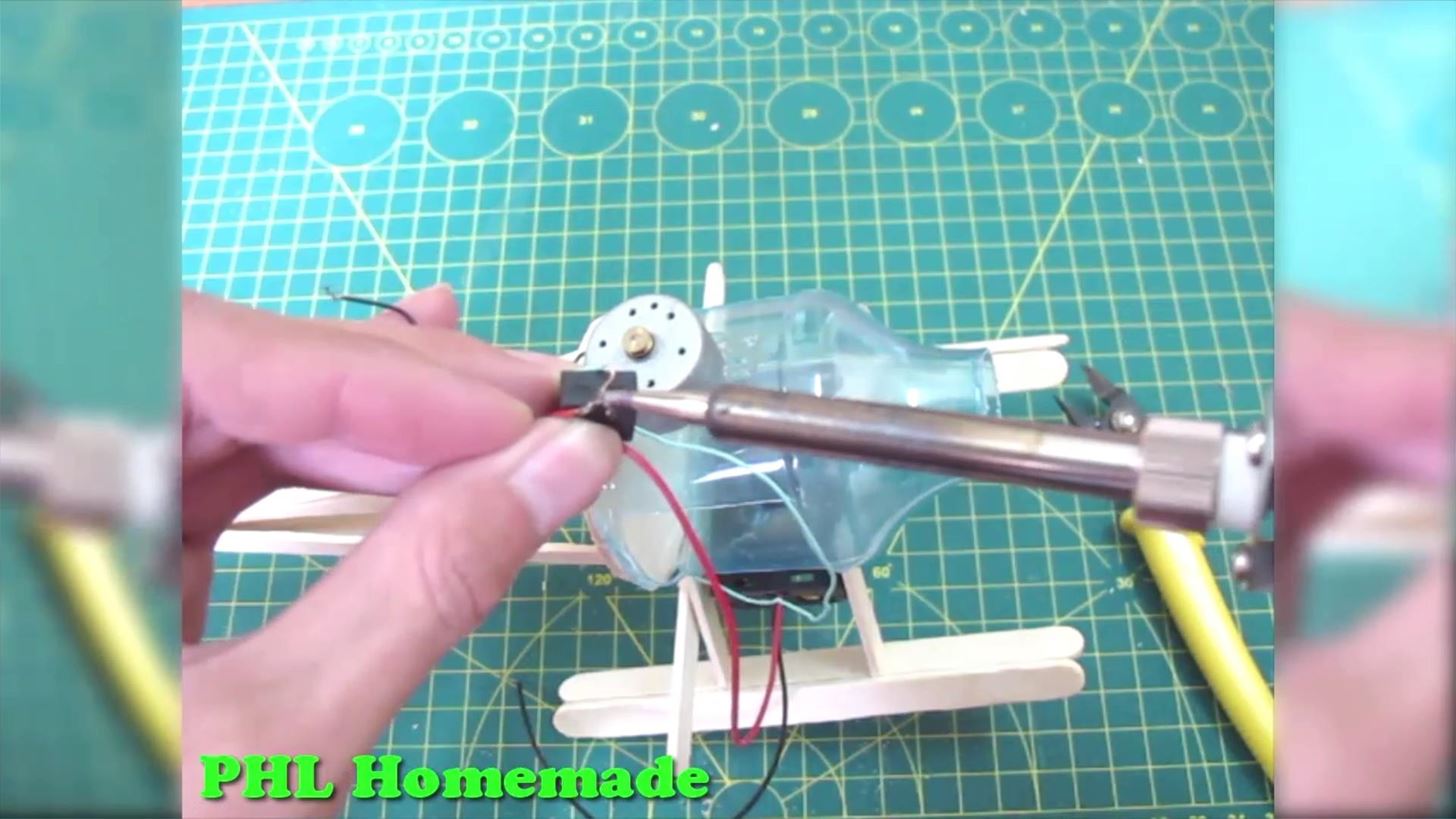
Step 26: Make Electric Part
We'll solder another pole of button to 1 pole of tail motor
Step 27: Make Electric Part
- Solder another pole of tail motor to 1 1 pole of switch battery box and attach another pole of switch box to the remaining pole of rotor mast
- Complete the electric part of the helicopter
Step 28: Make Main Rotor Blade
Using the stick (14cm) to lengthen to wing of main rotor blade
Step 29: Make Main Rotor Blade
Complete the main rotor blade with another wing
Step 30: Decorate the Cockpit
Using soldier, catapult lego bricks to decorate the cockpit
Step 31: Add Power Source
Using 2 batteries AA to provide power to helicopter
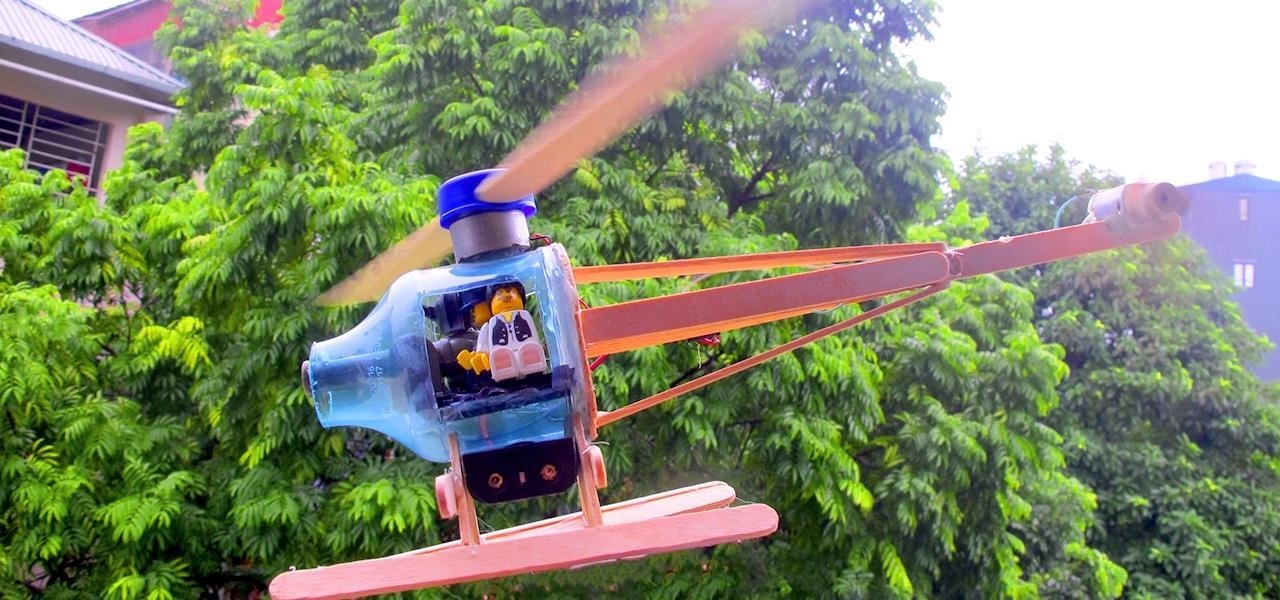
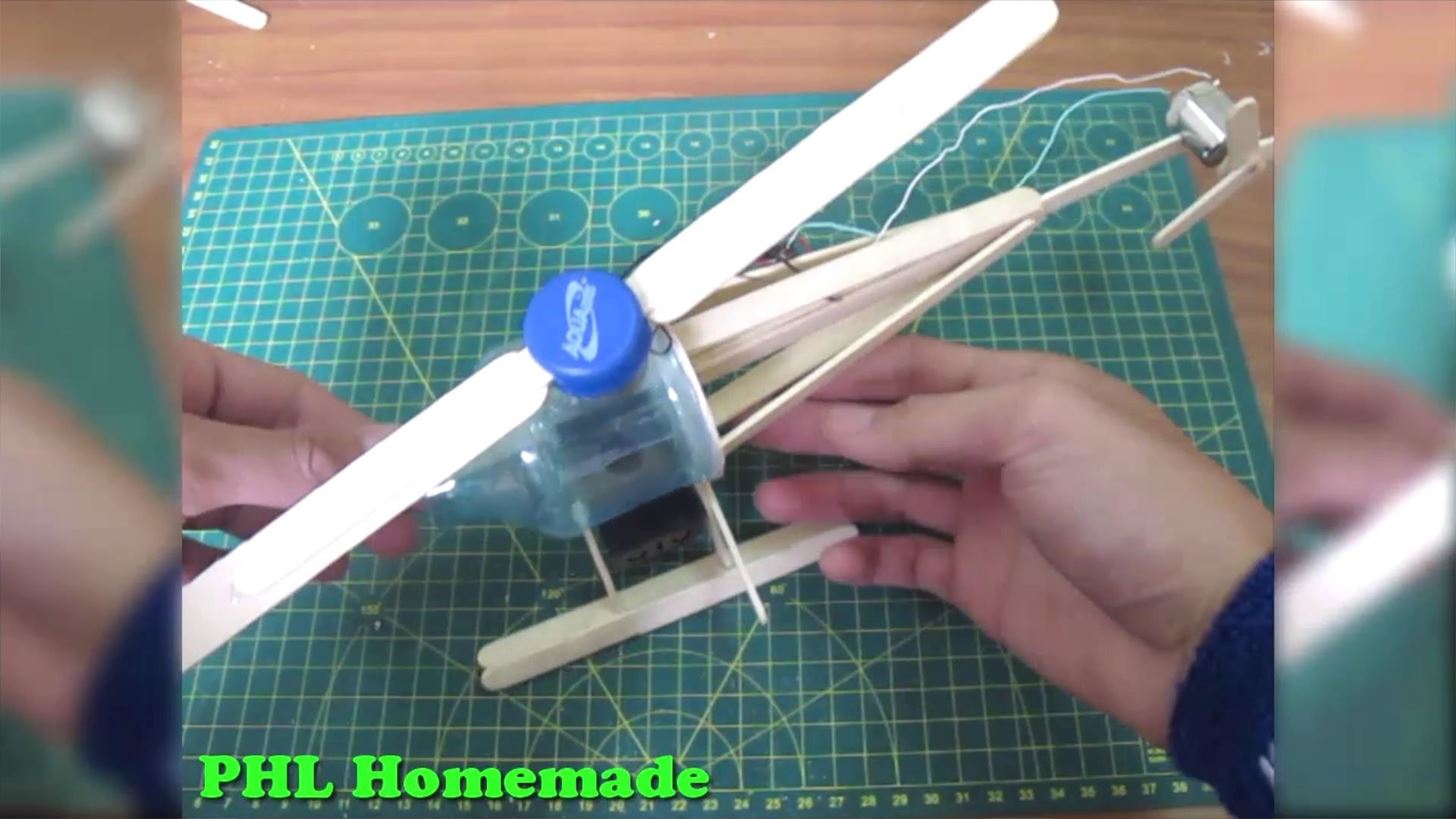
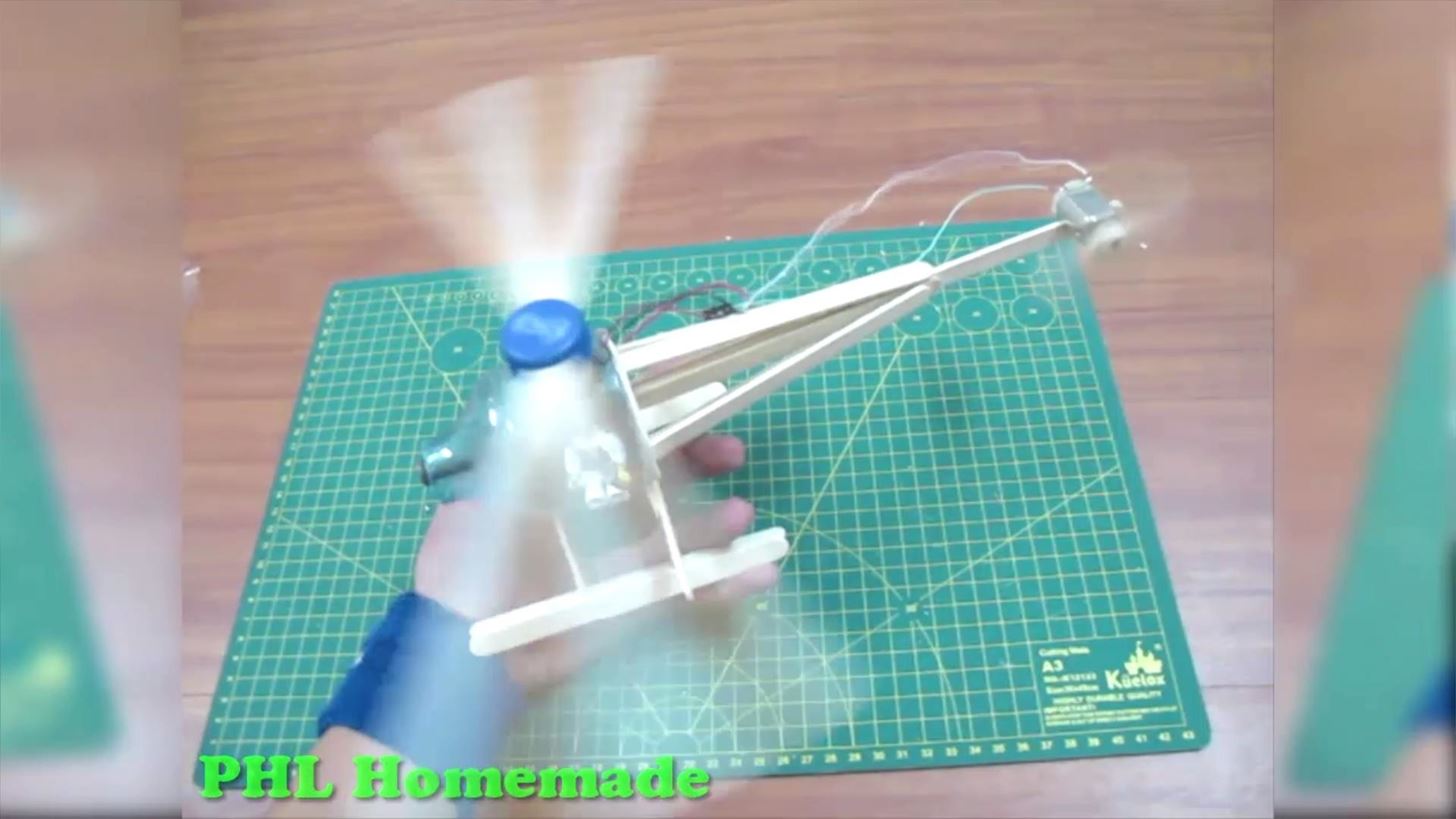
Step 32: Complete
We completed and now is the time to enjoy it


Be the First to Respond
Share Your Thoughts